


September 16, 2020 at 04:06AM
I spend a lot of my time testing makeup and the large boxes of products underneath my bed exemplify just how vast my collection is. But, when it comes to my own makeup bag, I only use a handful of staples. The core components of my look haven’t really changed from my early days of makeup experimenting.
ADVERTISEMENT |
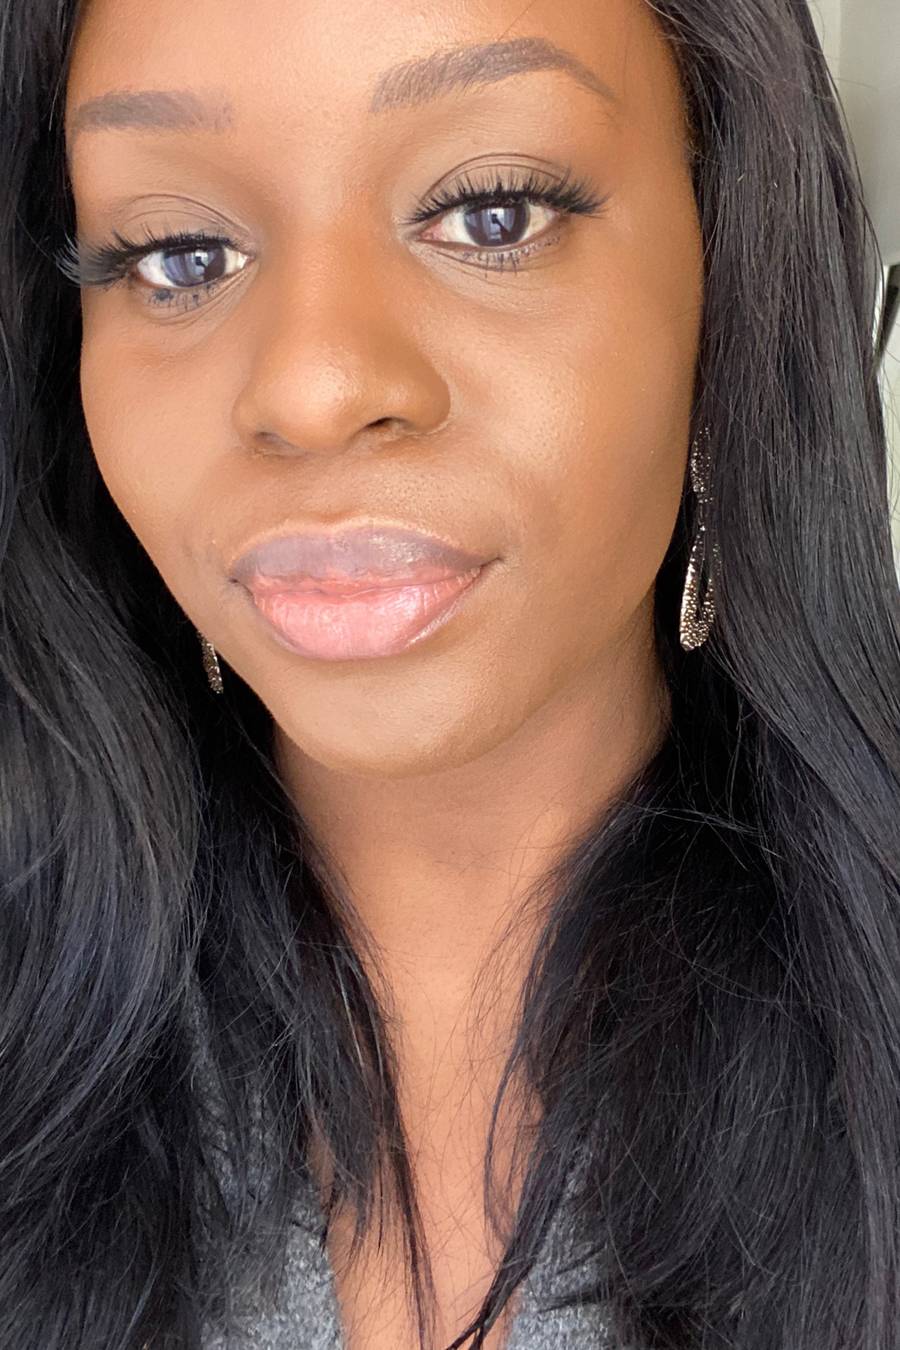
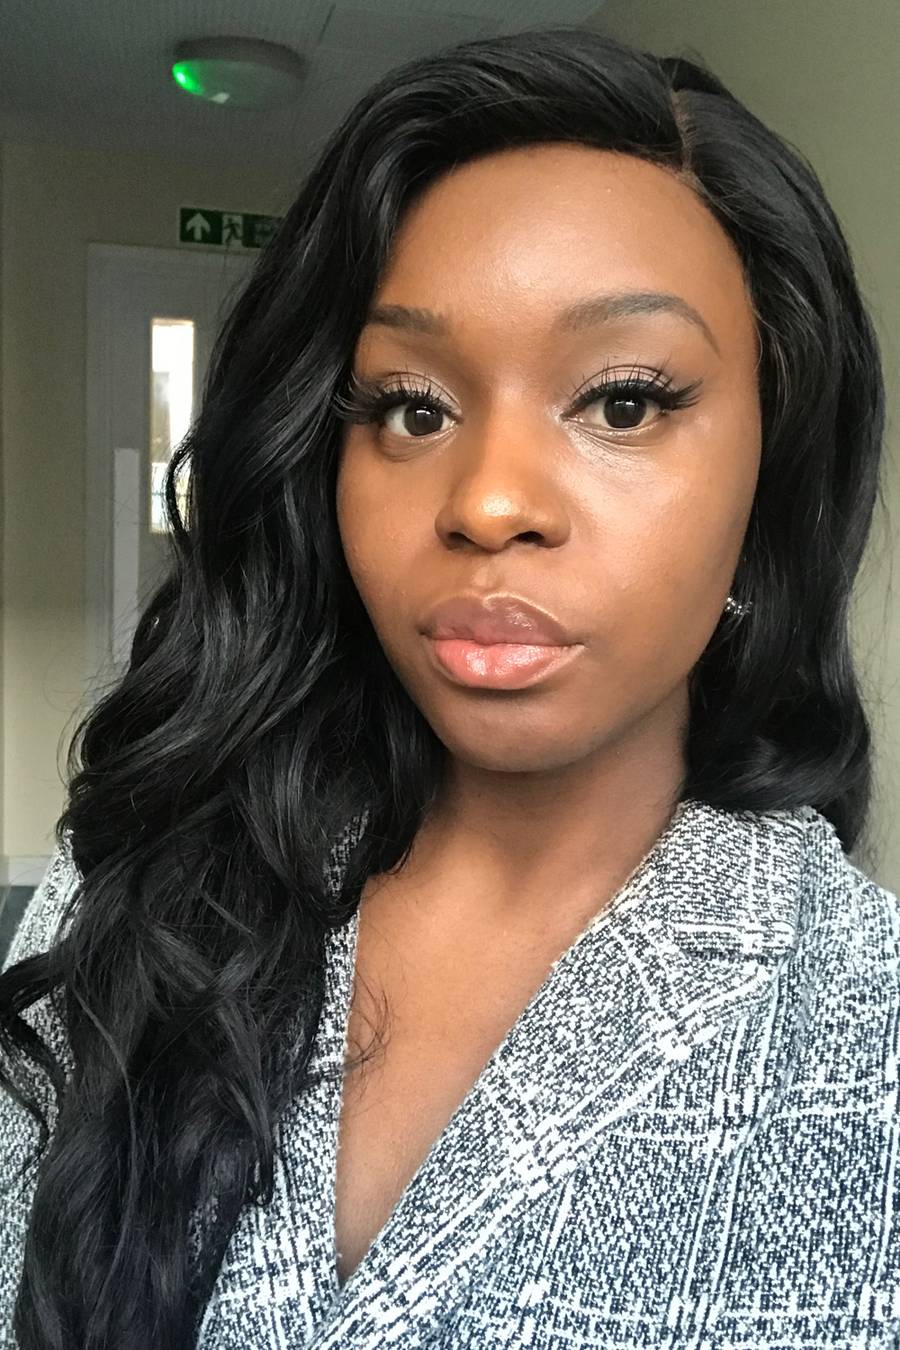
The primary difference is that I’ve had significant product upgrades since then. One of these is liquid eyeliner. I studied fashion and beauty history and exclusively wore vintage clothing for a long time, so my affection for winged eyeliner has been a mainstay.
I was captivated by the doe-eyed actresses in 1950s and 60s films and their ever-so-precise feline flicks. My first foray into the world of eyeliner came courtesy of a chunky kohl eyeliner I picked up at in a local market. Since then, I’ve tried every eyeliner around and perfected the look (yes, I’m bragging because it’s taken me about 16 years to do so.)
ADVERTISEMENT
ADVERTISEMENTKate Spade Autumn/Winter Sale |
I don’t want you to wait this long, so here’s my step-by-step guide to winged eyeliner.
ADVERTISEMENT
ADVERTISEMENTSports Direct Free Delivery on All Orders! |
You can’t just go in strong with the eyeliner, so some extra work at the beginning will help you out in the long run. Eyeliner won’t stick to a freshly moisturised complexion, so you want to have a good base. An eyeshadow primer is beneficial, but I usually use a concealer over my lids, followed by setting powder and then go in with my eyeshadow. If you’re just starting out, matte eyeshadows will give you the best base for your liner.
If your eyeliner starts to drag or the pigment isn’t coming out, use a damp cloth to wipe the tip as it may have a build up of eyeshadow on it.
ADVERTISEMENT |

Make your way over to the outer corner of your eye, and start by drawing an angular line from your lash line upwards. You can decide which length to go for and if you want to add a subtle curve to your flick. I’d start off with a short line, as it’s more wearable and easier to work with.
ADVERTISEMENT

I always get up close and personal and use a big bathroom mirror to do this, but if your hands are unsteady then try sitting down. Place a mirror on a table and lean your elbow on the table and do the flick here instead.
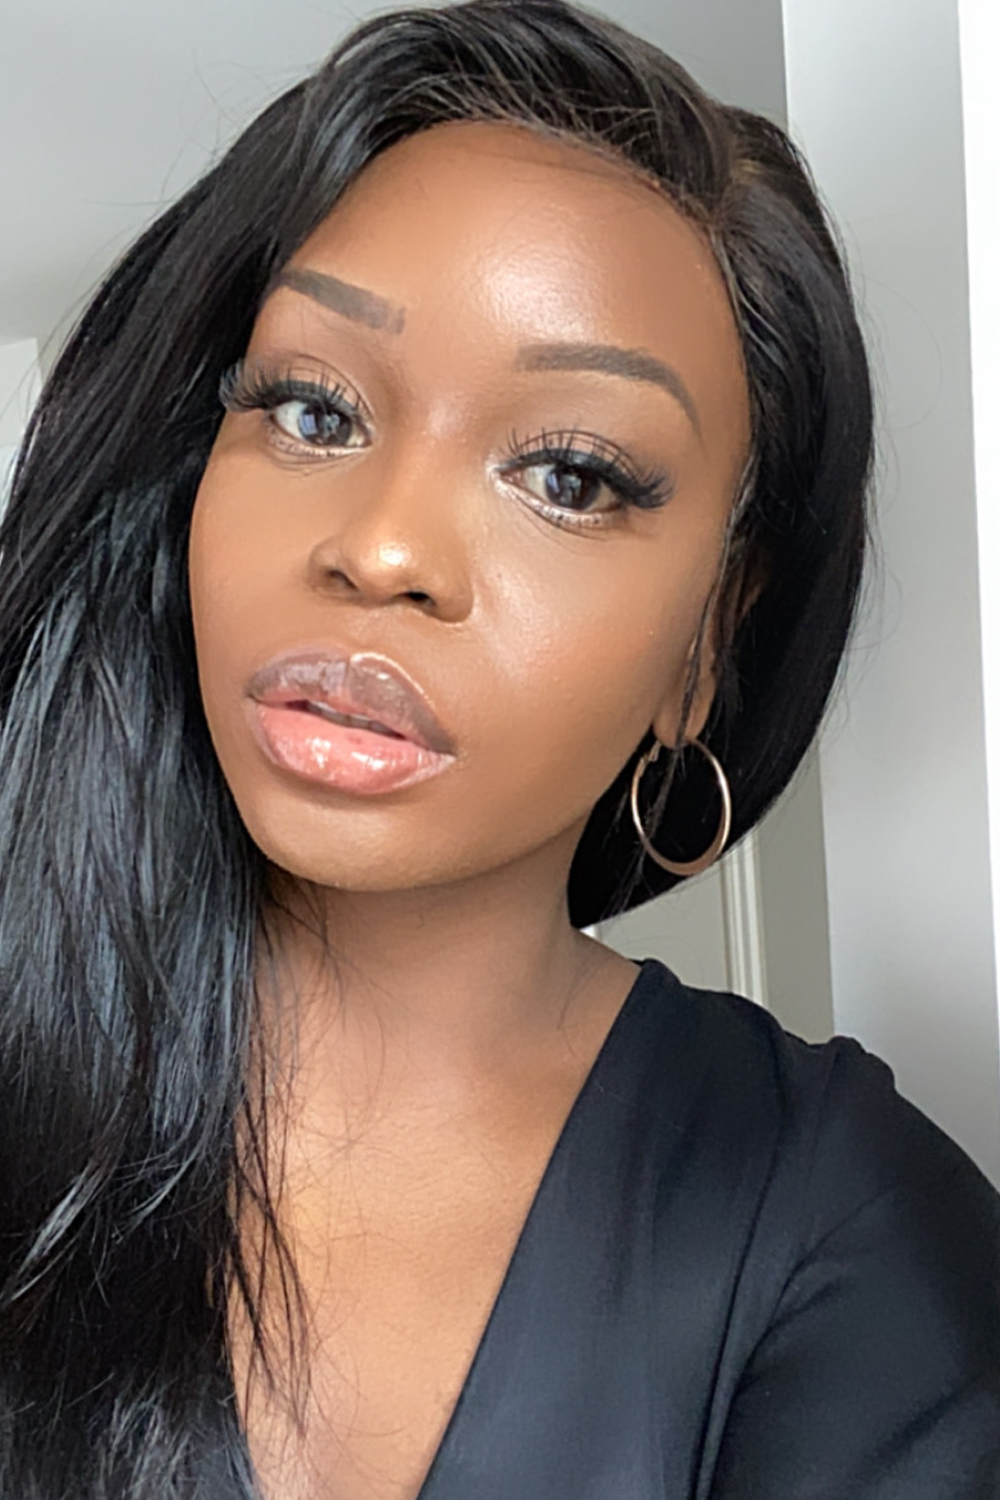
Now your flick is firmly in place, it’s time to work on the rest of your eyelid. Close the eye you’re working on with your non-dominant hand, by pulling the skin just below where your flick is. Then use your dominant hand to draw the line and start creating a thin line from the inner corner of your eye to the outer corner. Work slowly and you can always make the line thicker once you’ve finished.
When you reach the outer corner of your lid, connect up to the flick and create a mini triangle to join it all up.
ADVERTISEMENT
ADVERTISEMENT
Anya Hindmarch - I AM A PLASTIC BAGIf you’ve made any mistakes or have any smudges, don’t worry about it. Dip a cotton bud into some micellar water and use this to make your flick neater and smoother. You can also use some concealer to tidy everything up.
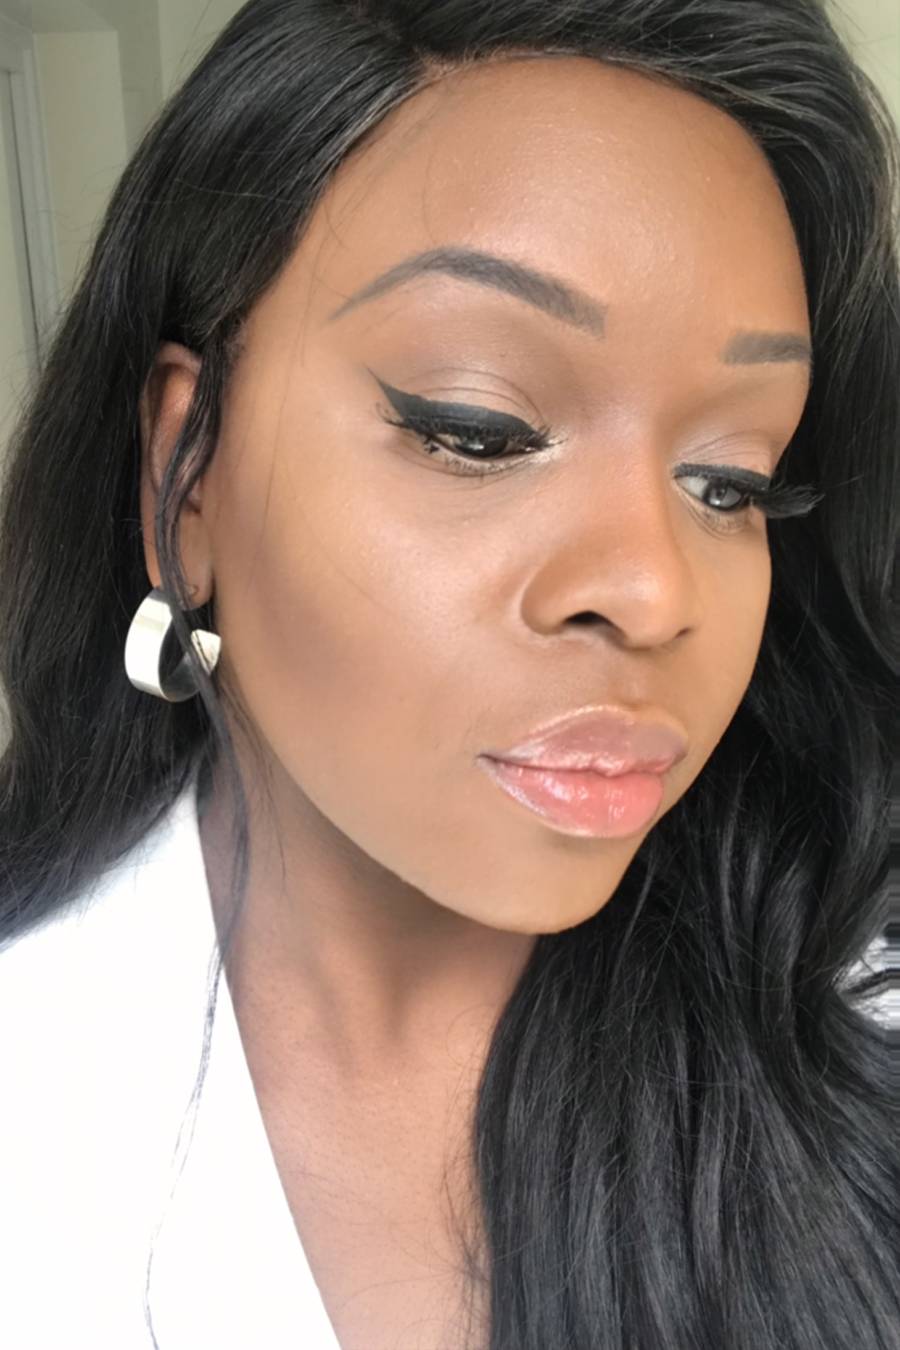
Once you’ve finished, apply some mascara and I tend to seal the deal with false lashes. What really makes or break the winged eyeliner look is the eyeliner itself. Trust me, they’re not made equally, so keep scrolling for my tried and tested favourites.
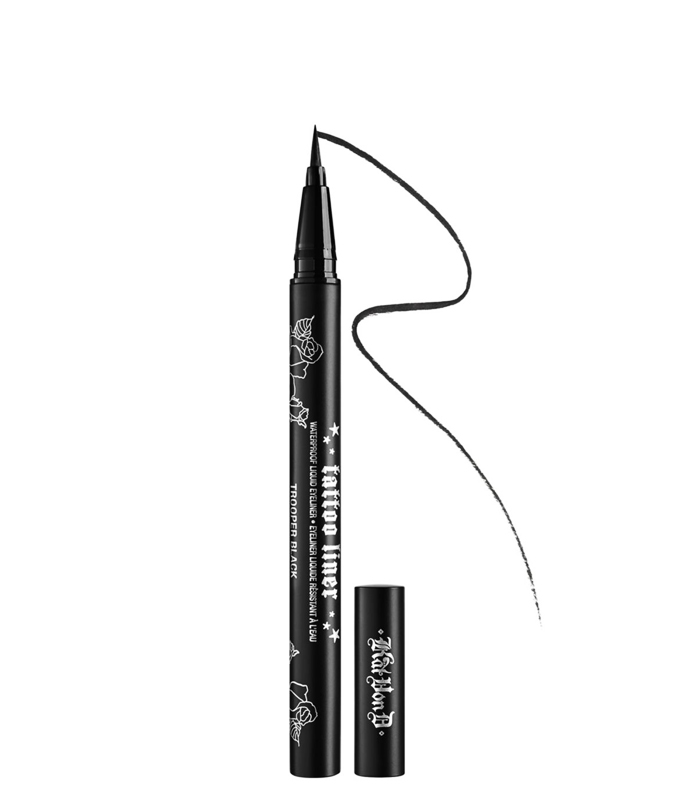
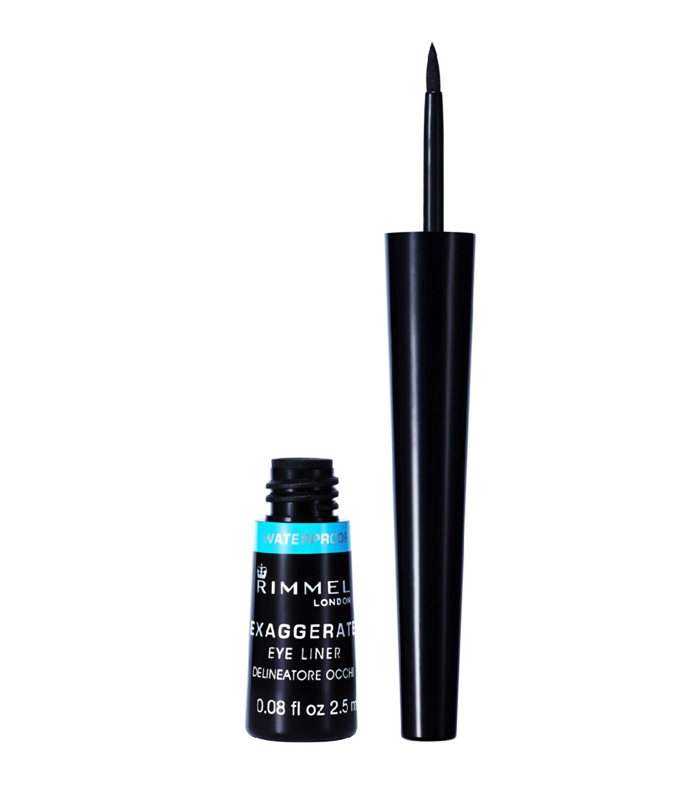
To avoid all of your hard work going to waste, a smudge-free formula is where it’s at. This smooth pen will stick to your lids and it’s a dream to apply.
The long, thin nib is flexible enough to create any winged looks and you can switch up the look depending on how much pressure you use. What I love most about this pen, is the shape. It’s easy to hold, so I always get a precise finish.
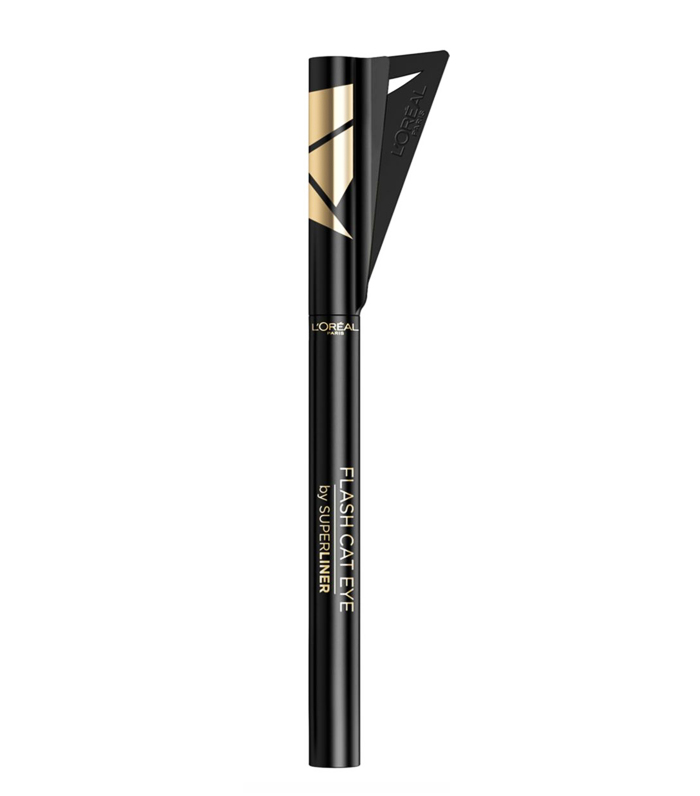
The lid has a detachable wing stencil. I repeat. The lid has a stencil. It works too. If you were tired just from reading this guide, then this one is for you. It’s not all about the stencil, it’s also one of the best drugstore eyeliners I’ve used.
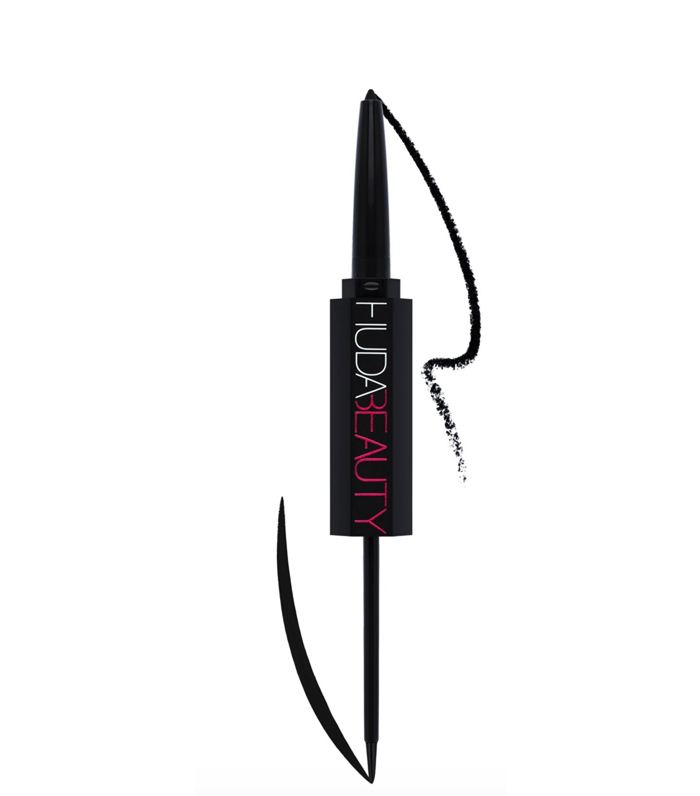
You get the best of both worlds with this liquid and pencil duo. If you’re really struggling with liquid, give the pencil a go to create a small wing. It won’t be as precise, but gives a similar look. This inky liner is seriously pigmented and I always find myself reaching for it.
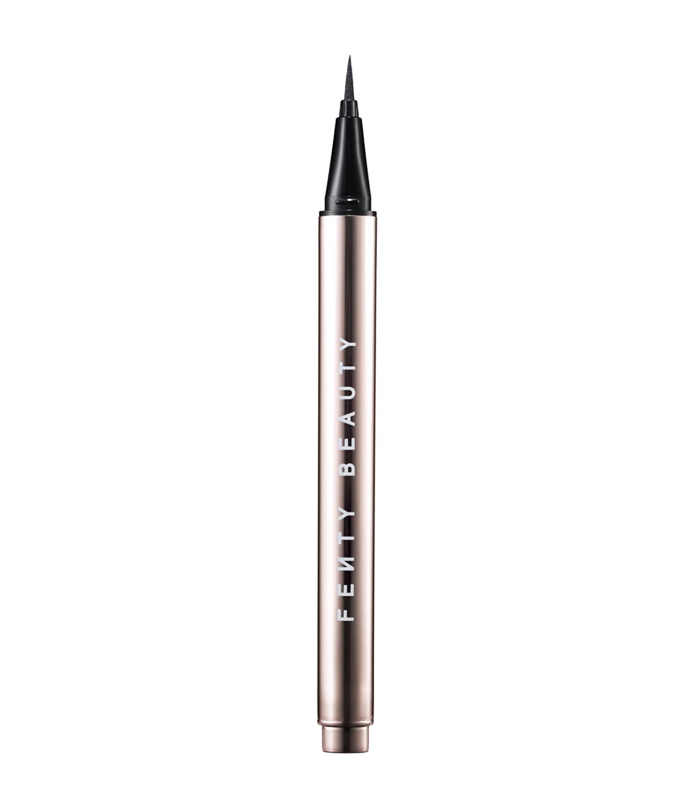
They must have been up to all kinds of sorcery when they were developing this liner. The brush is one of the best I’ve used and I probably get the most compliments on my winged liner when I use this. It’s also, very black, so even if you haven’t completely nailed the finish, the formula will still make it look like you’ve been doing this for years.
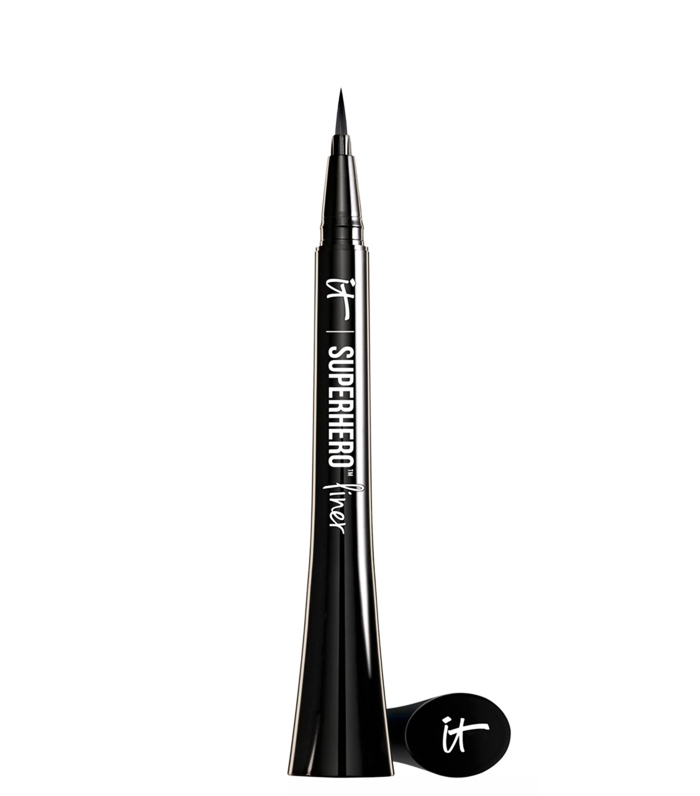
I heard about this eyeliner way before I tried it. Beauty insiders whisper about it and reddit thread mentions it as one of the best liners in the game and just look at that price. The nib is sturdy enough to give you the ultimate control in shaping your wing and that’s what really makes this liquid eyeliner stand out.
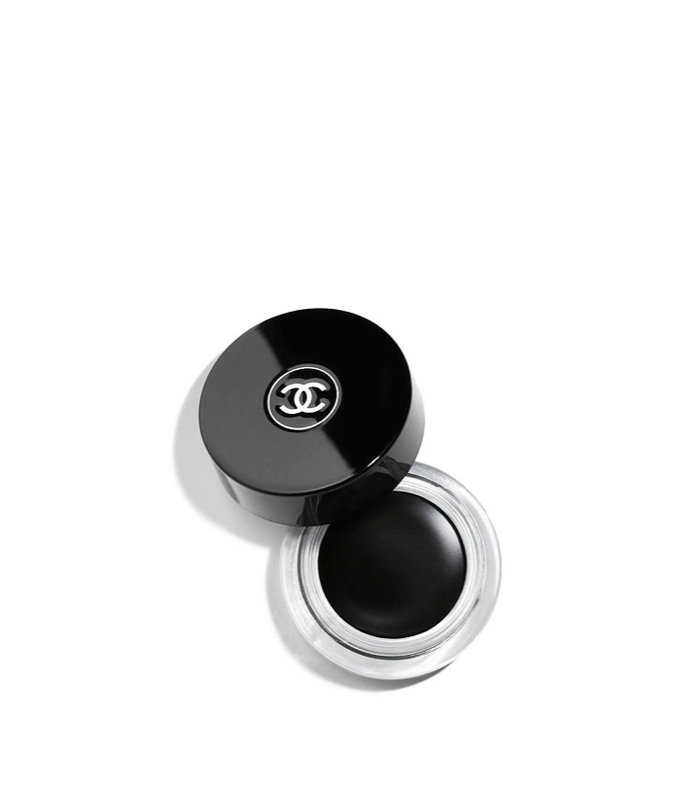
Believe me, cream eyeliners are not as scary as they look. The need to use a brush can often put people off but it gives such a wonderful end result if you take the time to practice. This is my all-time favourite in this category and the thinner the brush you use the better.
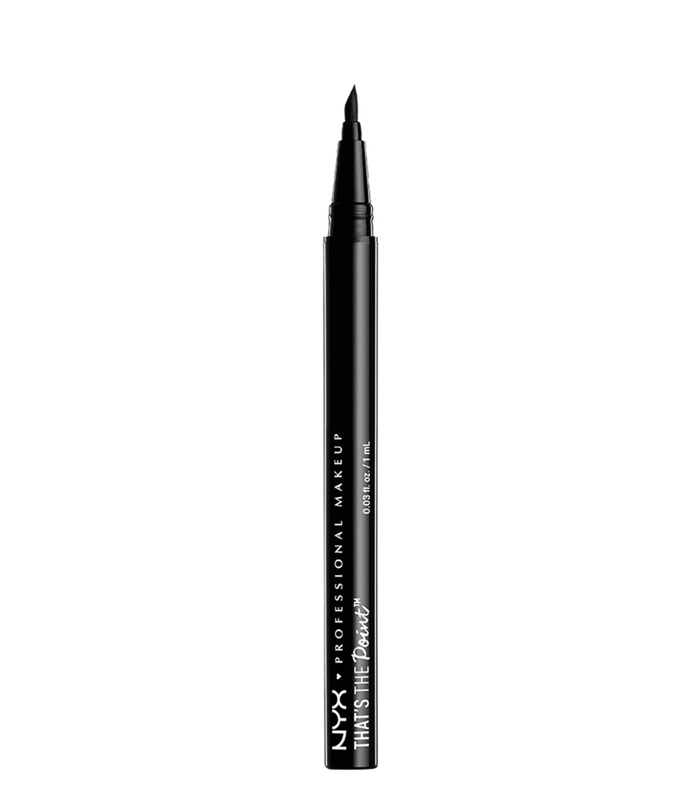
This time-saving angular pen is the ideal shape for creating the wing you’ve always wanted to create. It’s not all about the wing though, as the pen glides over lids with the same amount of ease.
Up next, 7 easy nail art looks that are easy to recreate.
Author Giselle La Pompe-Moore | Whowhatwear
Selected by CWC
ADVERTISEMENT
ADVERTISEMENTUp to 30% off Gift Sets |


