


November 12, 2020 at 06:02AM
I’ve said this before, and I’ll say it again: I’m extremely low-maintenance when it comes to my hair. I don’t use very many products and don’t stray from the ones I do use. I’ve pretty much had the same haircut for the last 10 years. I don’t dye my hair, and I never really style it aside from using straighteners or hair dryer every now and then.
ADVERTISEMENT |
I’m pretty lucky that it doesn’t take much for my hair to look somewhat presentable. But a lot of my low-maintenance tendencies are just due to sheer laziness. I’ve never had the patience to style my hair, and when I’ve tried it, let’s just say you could really tell which parts were done in the beginning and which parts were haphazardly finished at the very end.
I always thought I was never any good at curling my hair. I could never get the effortless waves I wanted or the voluminous curls I dreamed of. I really envied friends who could do their hair so seamlessly. When I attempted to use a curling tong, I felt so uncoordinated and twisted my arms and hands into some very odd positions. And even though I knew it took a lot of patience and practice, I just thought I had better things to do!
ADVERTISEMENT
ADVERTISEMENTKate Spade Autumn/Winter Sale |
It also didn’t help that when I did curl my hair or when I conned one of my friends into doing my hair, all of that hard work would make like Cinderella’s carriage and turn back into a pumpkin (straight hair) just a few hours later. If my hair insisted on staying straight at all times, who was I to make it be something it wasn’t?
ADVERTISEMENT
ADVERTISEMENTSports Direct Free Delivery on All Orders! |
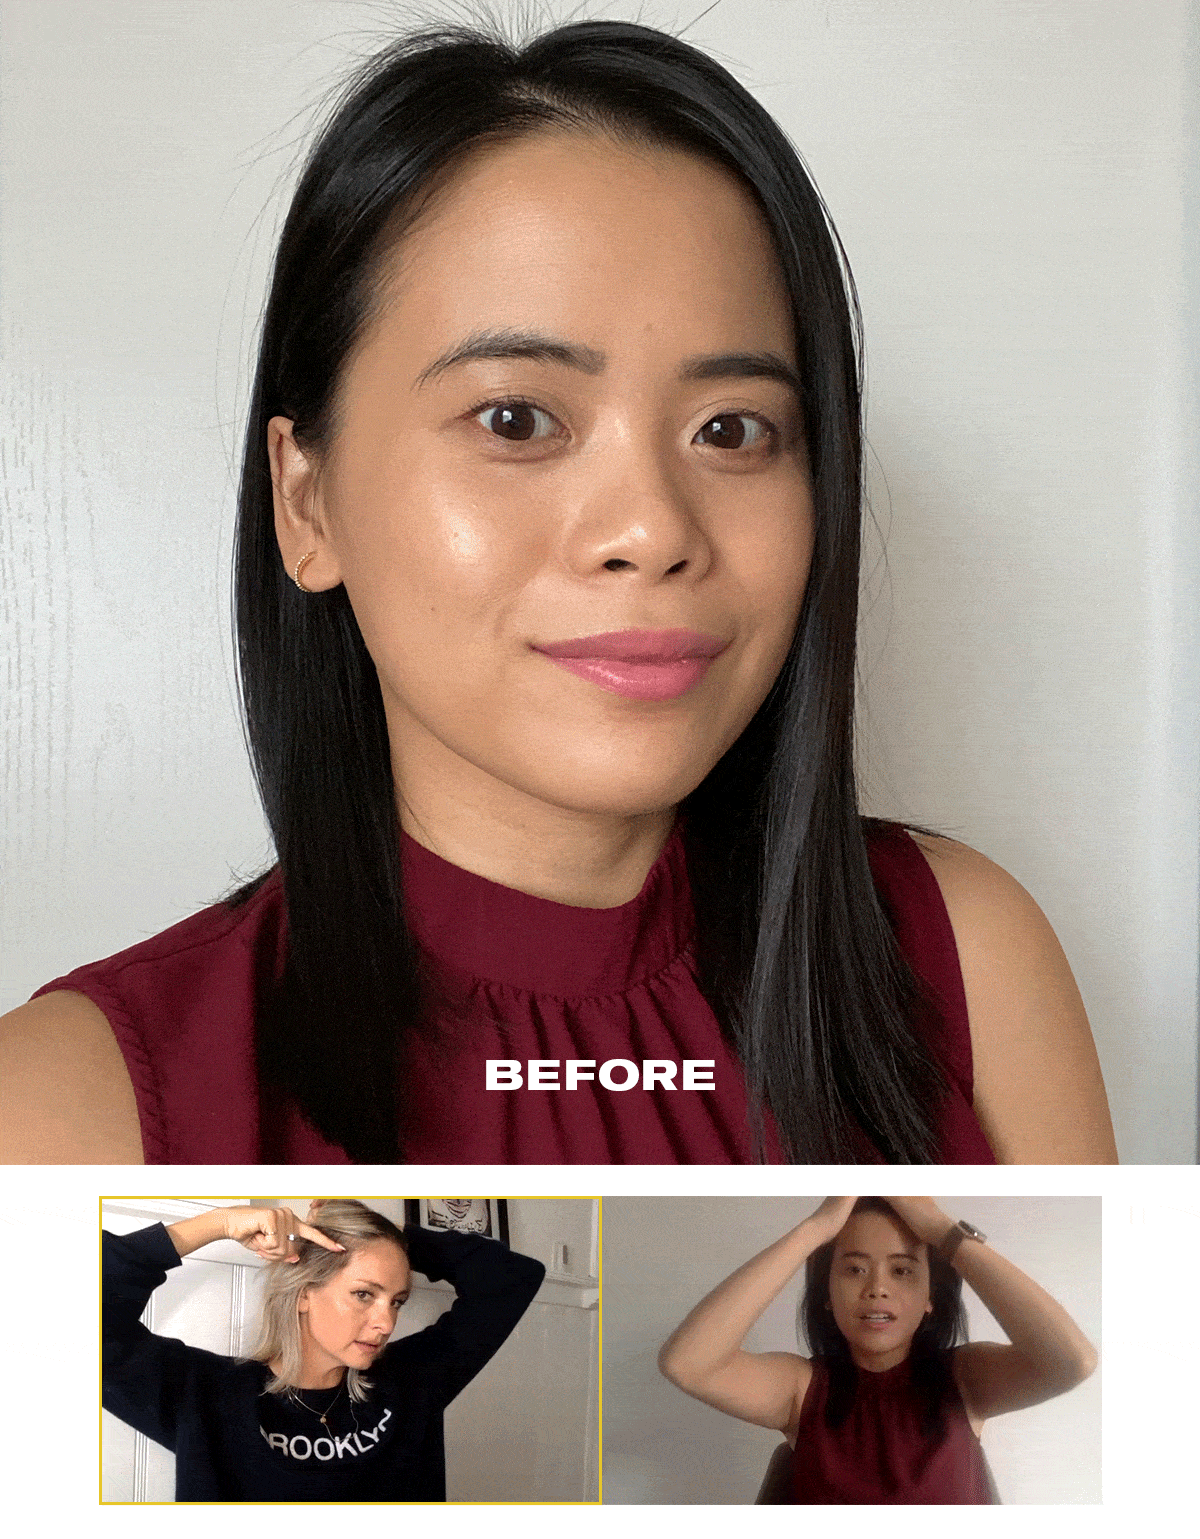
I changed my tune recently thanks to quarantine. You see, with so much free time on my hands, it’s a great time to learn something new. So instead of baking sourdough bread or picking up a new language, I decided it was time to actually learn how to curl my hair. At almost 32 years old, I guess it’s never too late to pick up a life skill! So I asked celebrity hairstylist and T3 ambassador Laura Polko for a tutorial over Zoom.
ADVERTISEMENT |

Learning something new can already be a challenge, but doing it over Zoom makes it even tougher. It took me a while to get used to mirroring what Polko was doing on the screen. My first curl turned out not-so-great because I was having a hard time figuring out how to twirl the curling iron around. It definitely would have been much easier if we were doing it in person and she could position my hands a certain way or troubleshoot any issues.
But Polko was a patient and excellent teacher, and I finally got the hang of it. I learned how to section my hair by putting it half up and curling the bottom part in sections. To be honest, I already knew the basics of how to do that but never really followed through with it at all because of impatience. It was also really reassuring when Polko told me not to sweat the bottom curls too much since they’d be hidden. She made me feel better about not making every curl exactly perfect and uniform.
ADVERTISEMENT

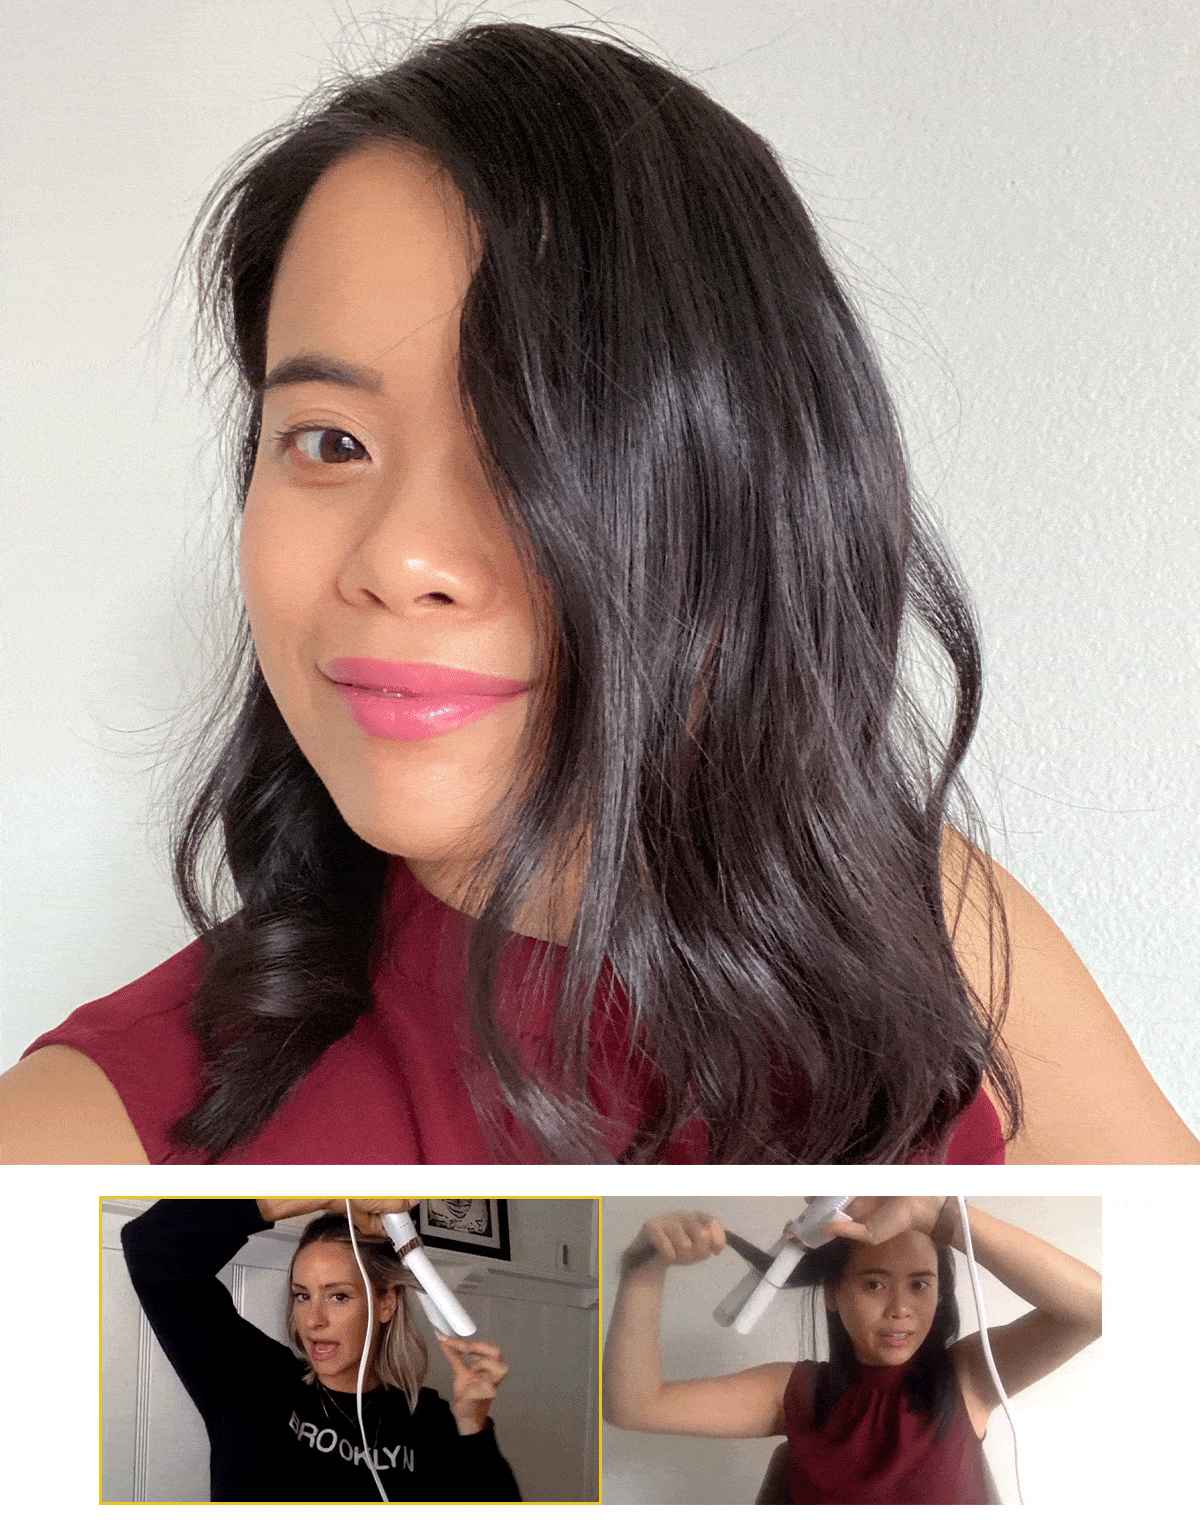
We went through two different curling techniques with the tong. The first was the traditional kind of technique where you clamp the hair and twirl the wand around, lifting and lowering the clamp as you go along to move the hair through the tong. The second was taking the tong and wrapping your hair around it as you would with a curling wand and clamping it to hold the heat in. The second option was a bit easier for me since it involved a little less choreography than the first.
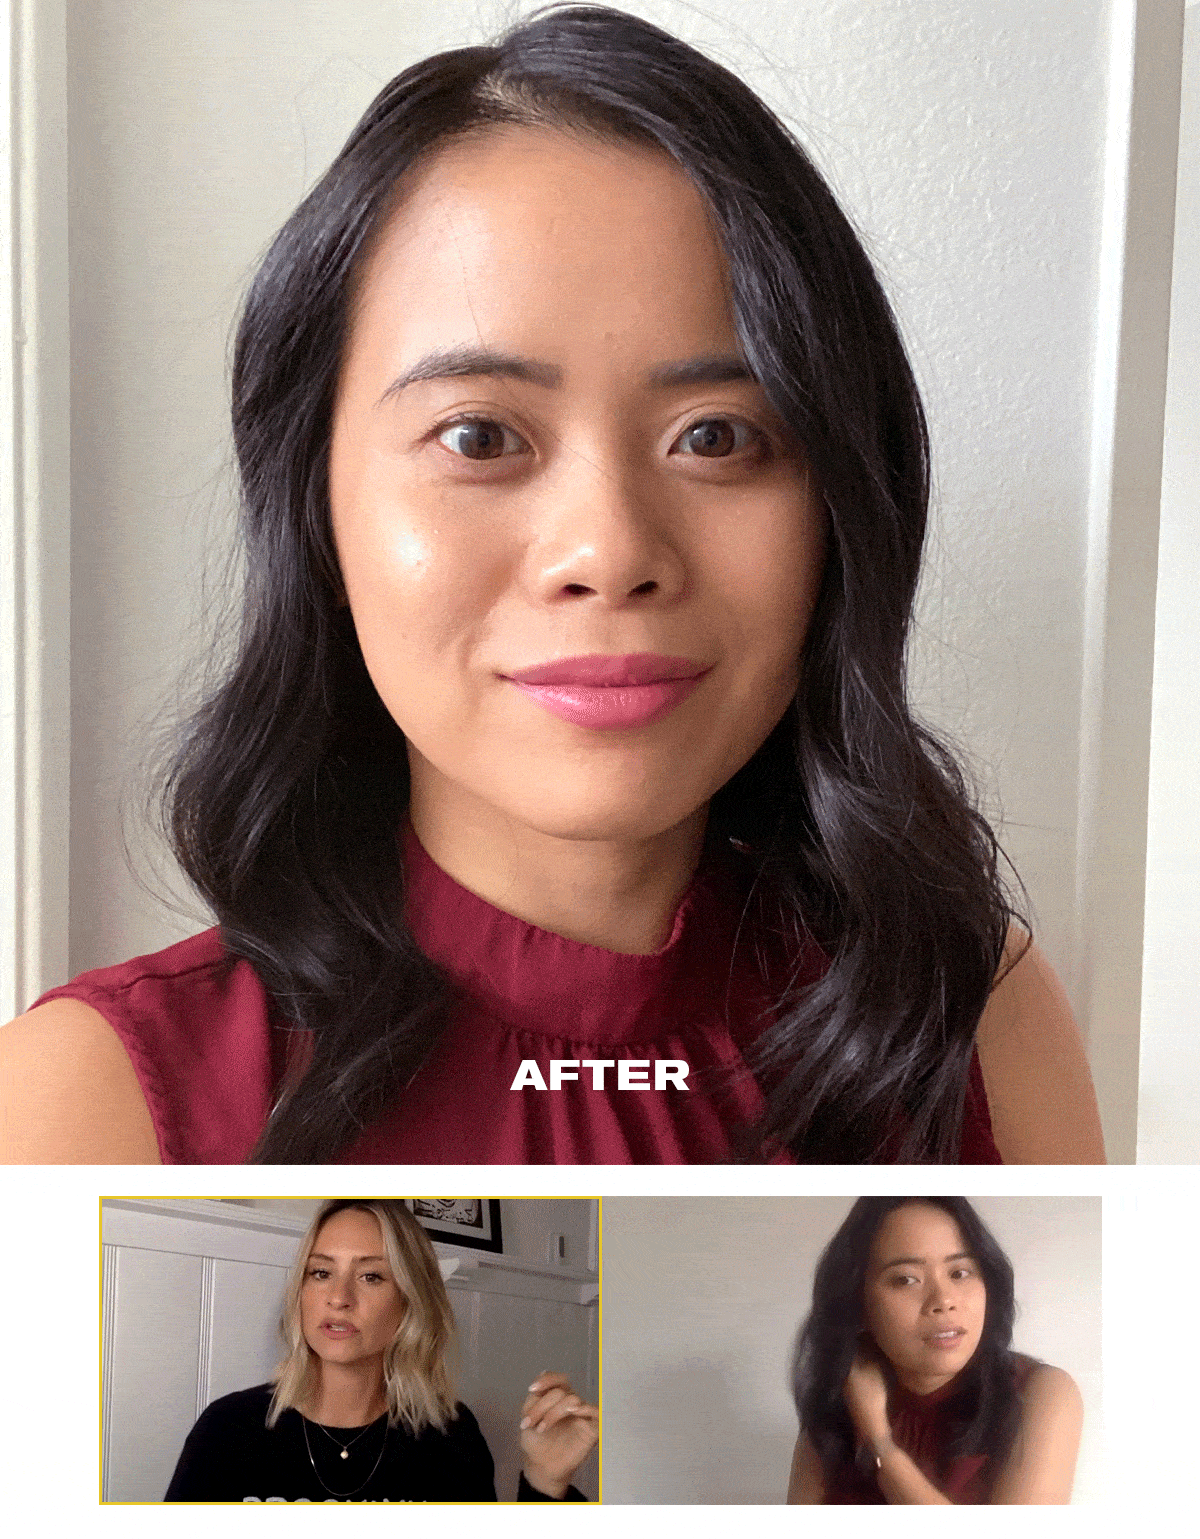
Overall, the obvious point here is patience and practice are key (two things I was lacking before this). But I also learned a couple of other insider tips from Polko, which I’ve laid out below for all my other curling novices out there.
1. Temperature is important. “People assume, ‘If I do the highest heat setting, it will last,’ which is 100% not the case,” Polko says. “When you crank it up all the way, you’re actually zapping your hair too much, and it doesn’t know what to do. It’s like putting it in a microwave versus an oven. You’re letting the heat get into it, and it’s more of a gentle heat, so that actually will help the style last longer if you have it on a lower heat setting.”
ADVERTISEMENT
ADVERTISEMENT
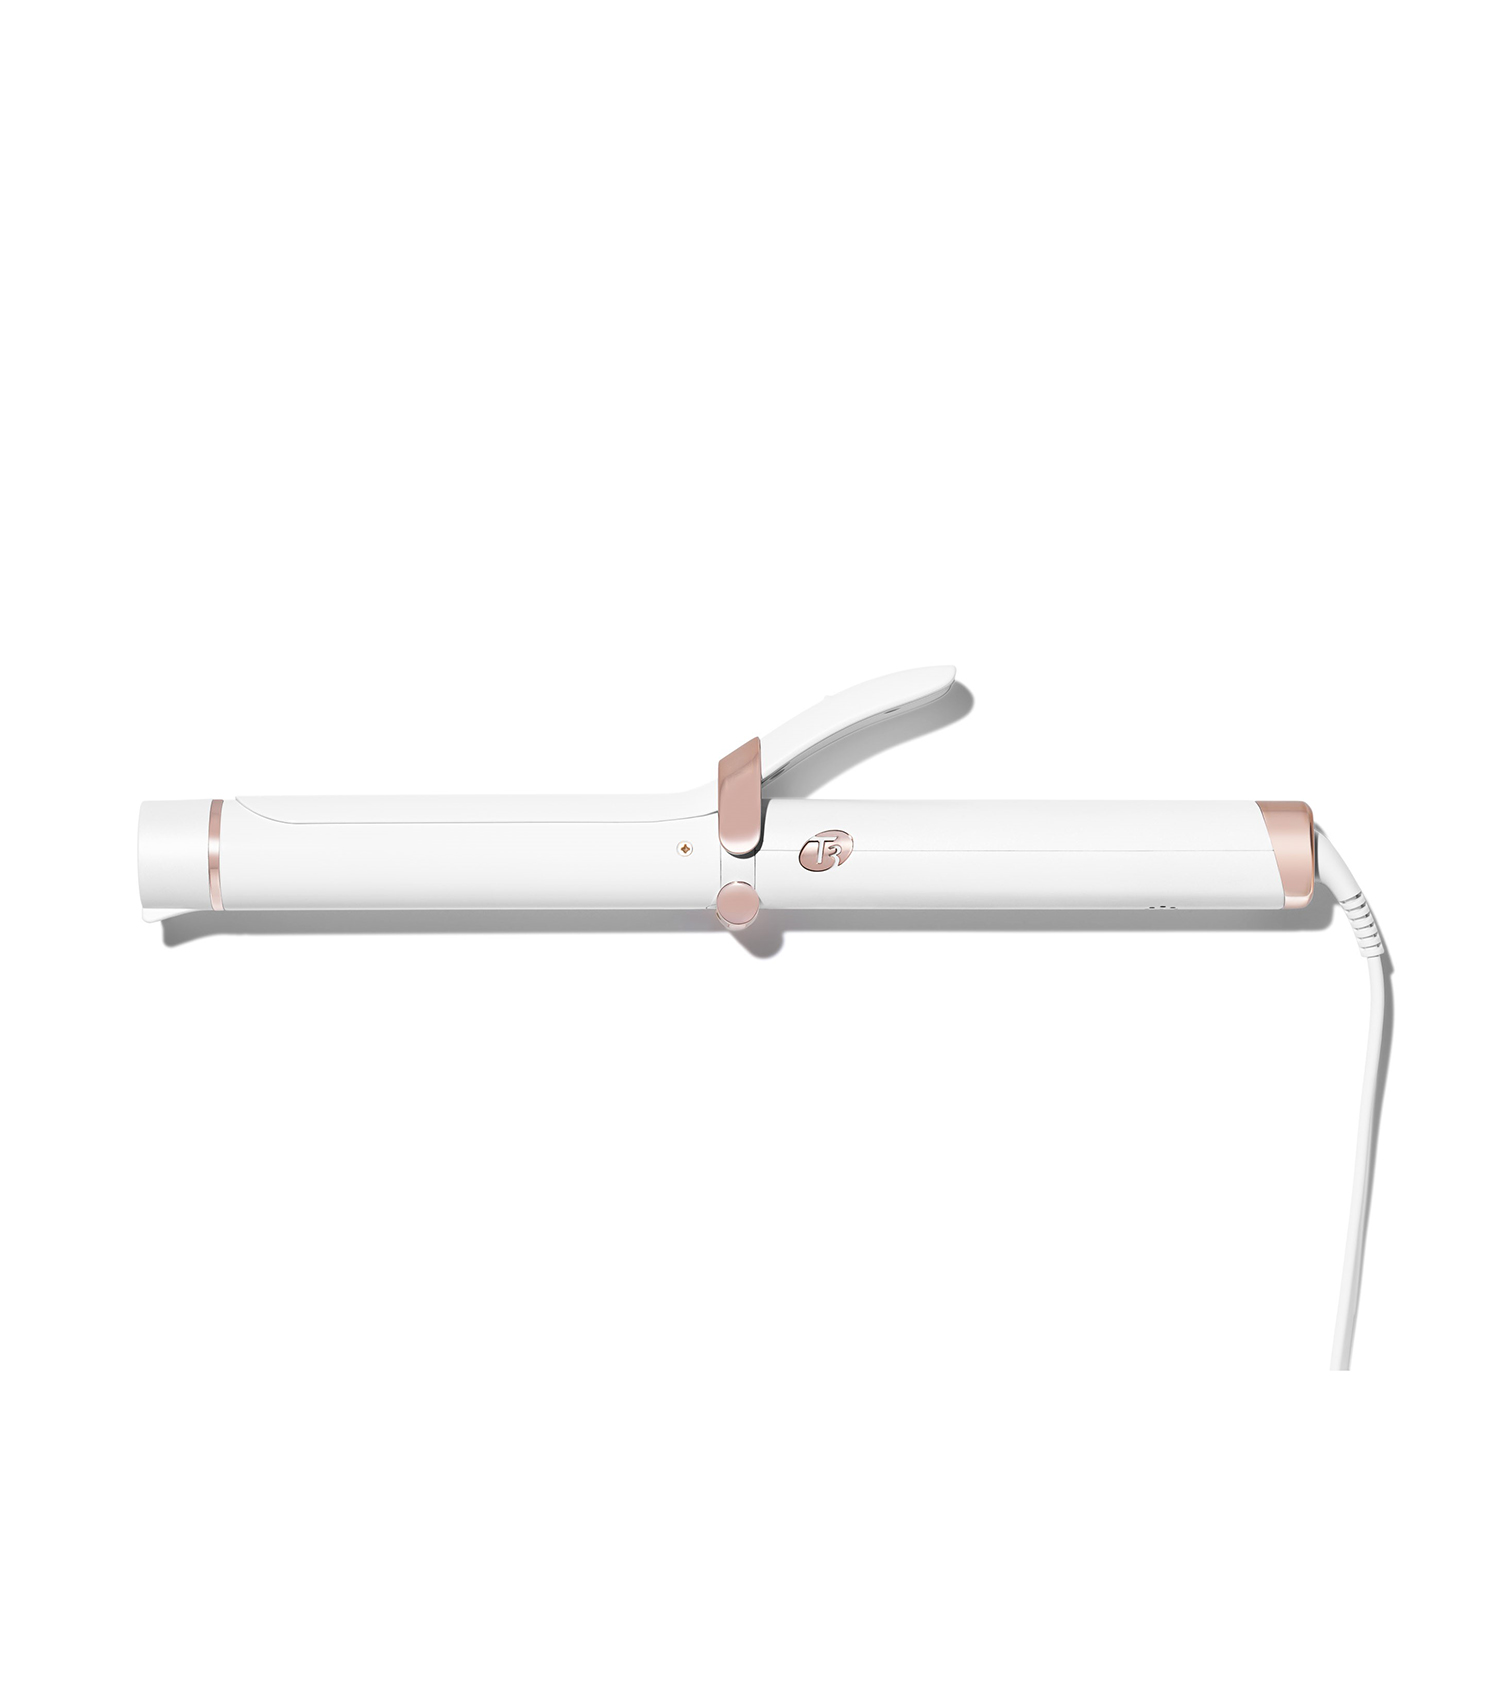
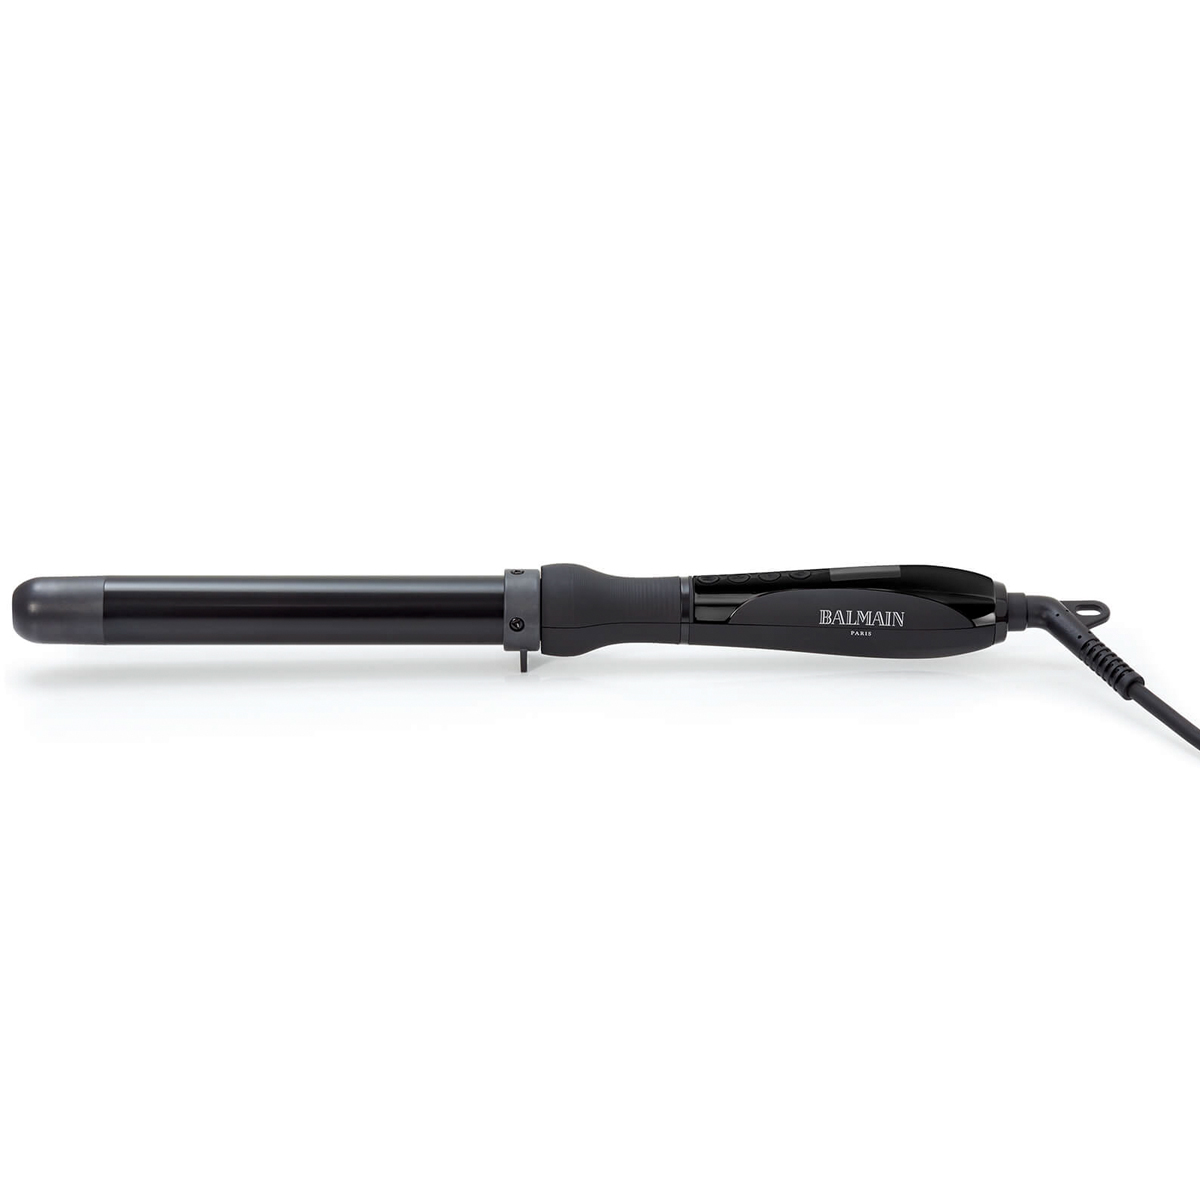
Anya Hindmarch - I AM A PLASTIC BAGIn general, the thicker the hair, the higher the heat setting, and the finer the hair, the lower the heat setting you should use. You should also keep things like colour and chemical treatments in mind when choosing your heat level. Polko recommends the T3 Singlepass curling tong, which we used for the tutorial. “It takes the guesswork out of picking the right heat for your hair type! You just put in your hair texture, color treatment, and chemical treatment, and it will pick the right heat setting for you depending on these factors.”
2. Size matters. When it comes to barrel sizes, that is. If you want a tighter curl, go with a smaller barrel size, like one inch. If you want undone, relaxed waves, use a bigger barrel. “It’s very important to remember to make sections that match your barrel size! For example, you’ll want to use smaller sectioning and a smaller barrel for more polished curls.”
3. Start with clean hair. This ultimately depends on hair type, but Polko recommends starting with freshly washed hair. “For some people, if it’s second-day hair, you will get that oil, which is actually going to hurt more than help. You don’t want it to slip,” she adds. If you’re worried about a lack of texture with clean hair, you can blow-dry it to roughen it up a bit and add volume.

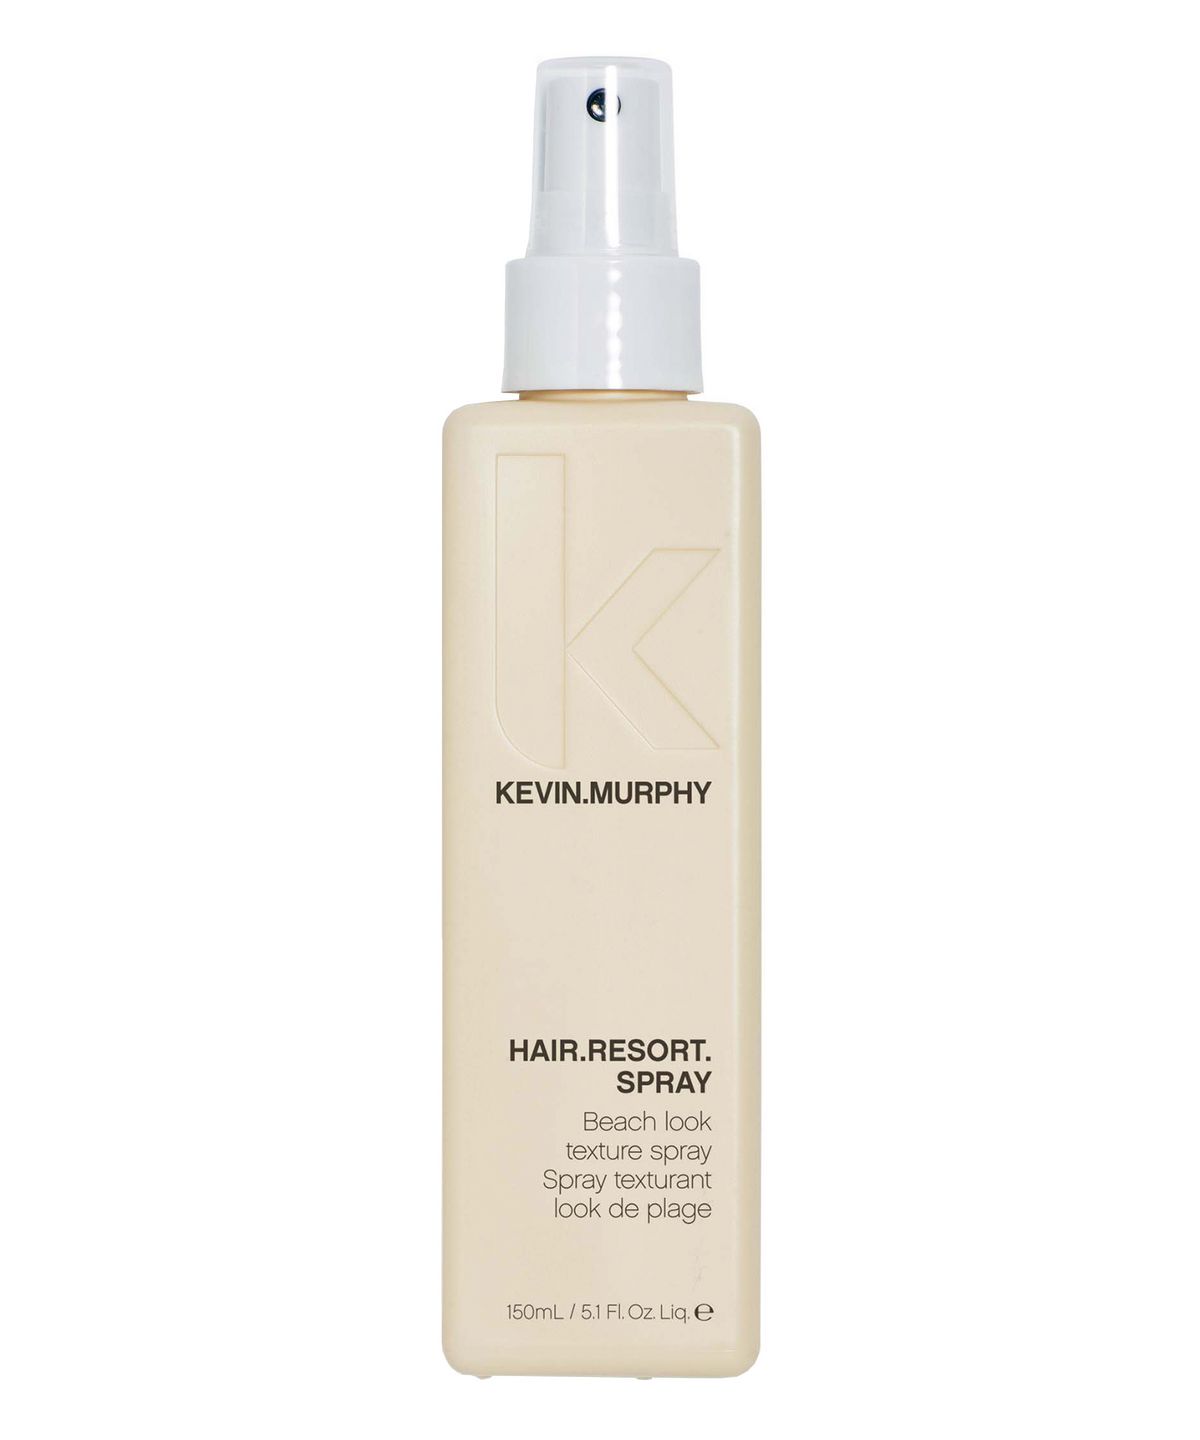
4. Prep with some product. Because my hair tends to slip, Polko recommends adding some salt spray to give it more grit. If you have fine hair or if it’s colour treated, a heat protectant can help shield it from any damage and prevent frizz. For thicker, textured hair, she suggests using mousse as you’re blow-drying it before curling. And don’t even think about using hair spray as prep because it can dry your hair out.
5. Position the tong. When starting to curl, make sure the clamp (if there is one) is facing outward. Curl your hair away from the face, not toward it. “With loose waves, you can be a bit more relaxed with how you actually wrap the hair around the wand,” Polko explains. “With a more polished/tighter curl, you’ll want to be sure that the section is lying flat to the iron.”
6. Time it. Generally, you should leave the curling iron on your hair for around five seconds, but Polko says if you’ve noticed that your curls tend to fall, you can leave it on for a couple of seconds longer.
7. Take advantage of the clamp. During the tutorial, Polko told me to push the clamp on my tong up and down as I was curling my hair to hold the heat in. That tip blew my mind because I never thought to use the clamp for anything other than holding my hair in place.
8. Set the curl. After taking out the curl from the tong, hold it in the palm of your hand in the shape it came out of the iron for as long as you curled it in the iron. So if you applied the iron for five seconds, hold it for five seconds. This will help set the curl.
9. Let your hair cool for a second. When you’re finished, let your hair take a breather. Then, start to tousle your hair by placing your hands at the bottom of your head and shaking it out.
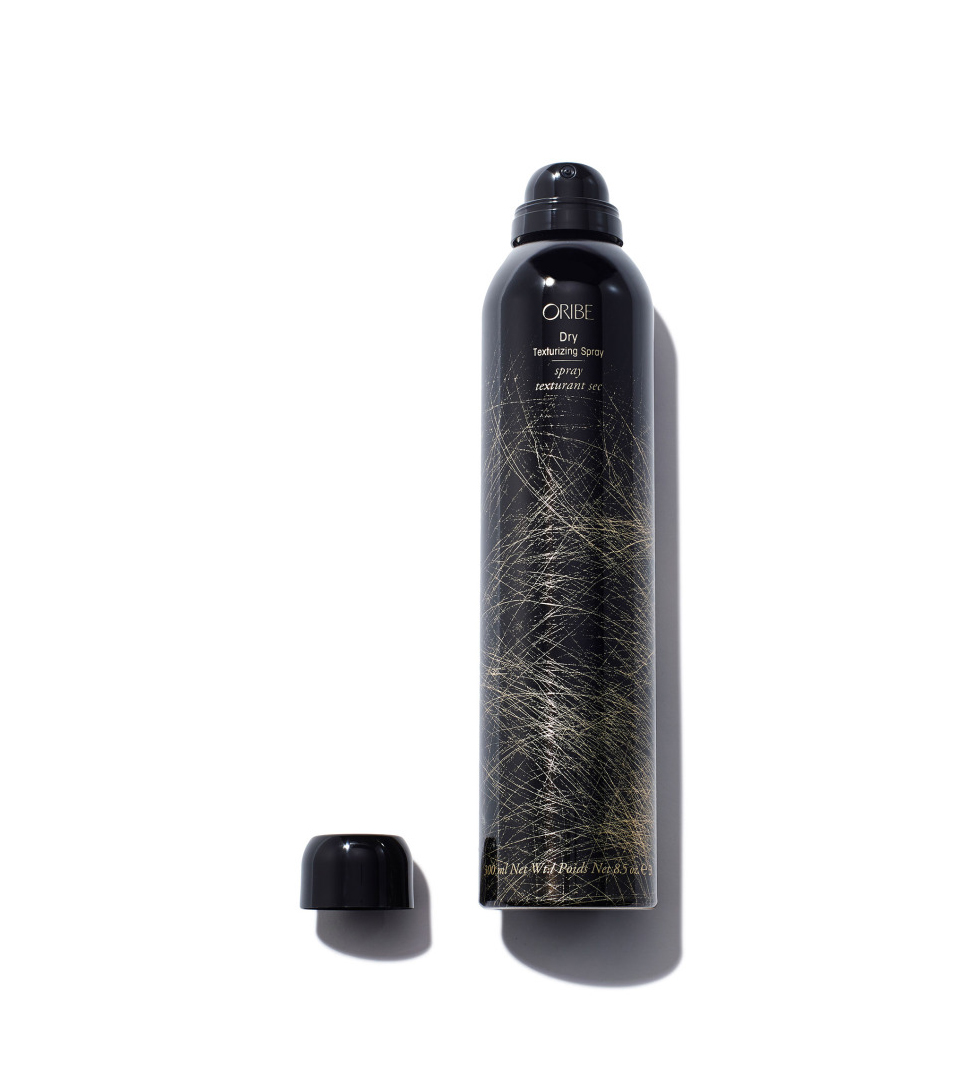
10. Use product for more volume. Aside from setting it with hair spray, Polko recommends using hair powder or dry texture spray for more volume.
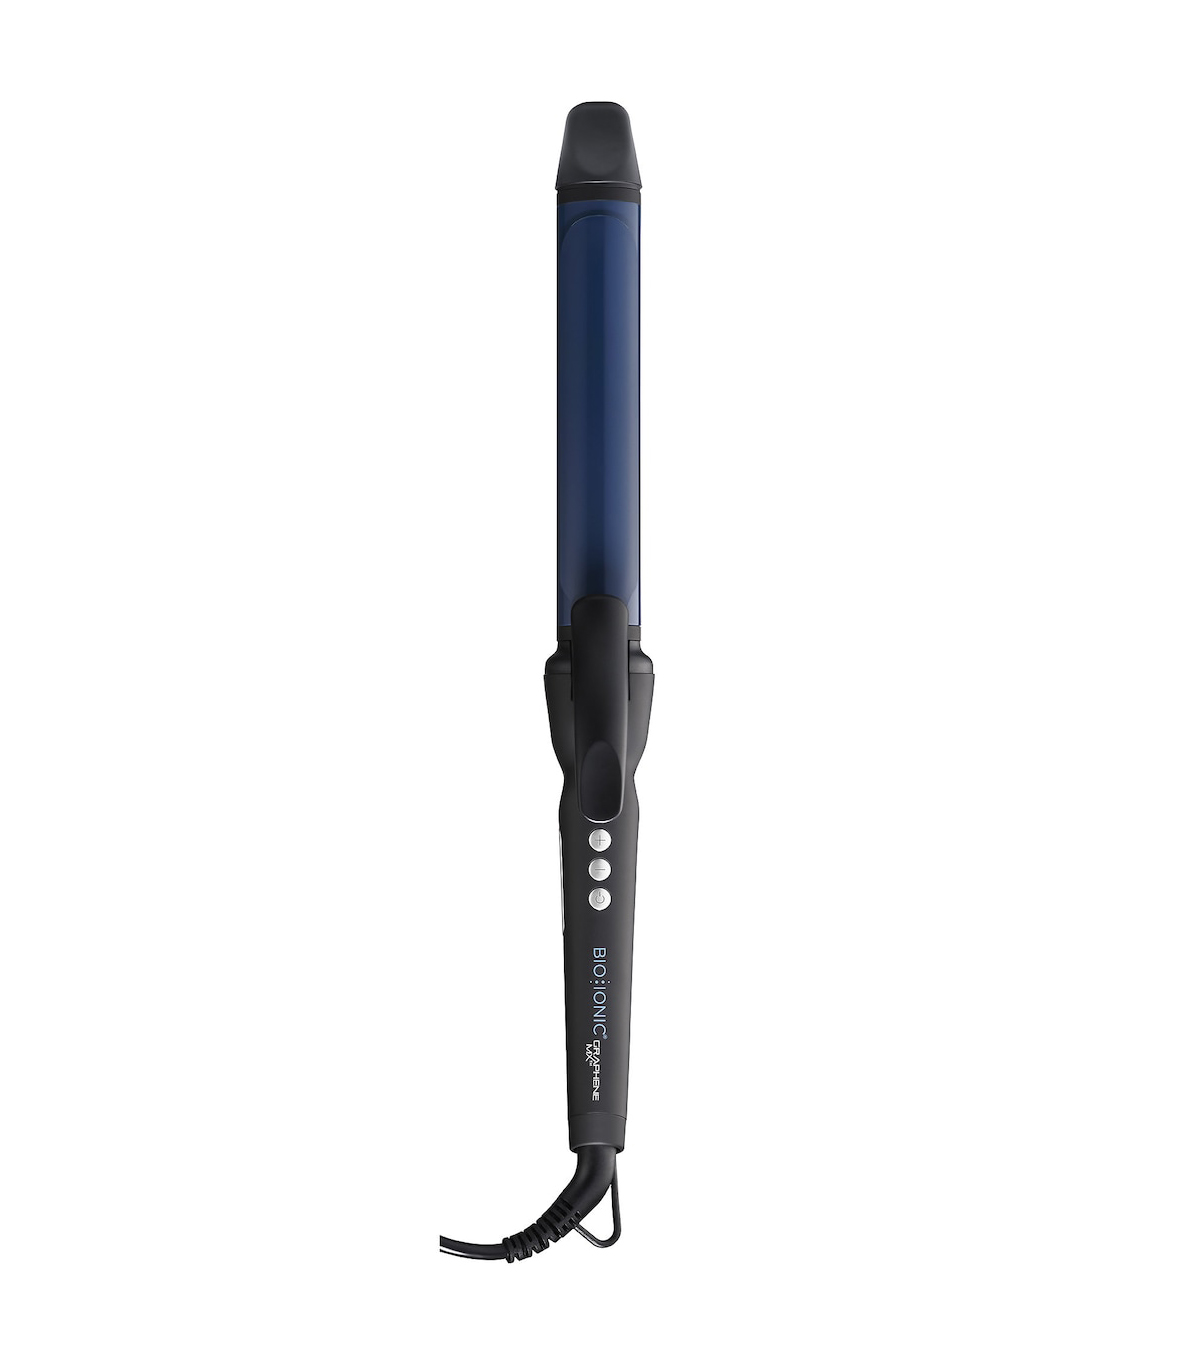
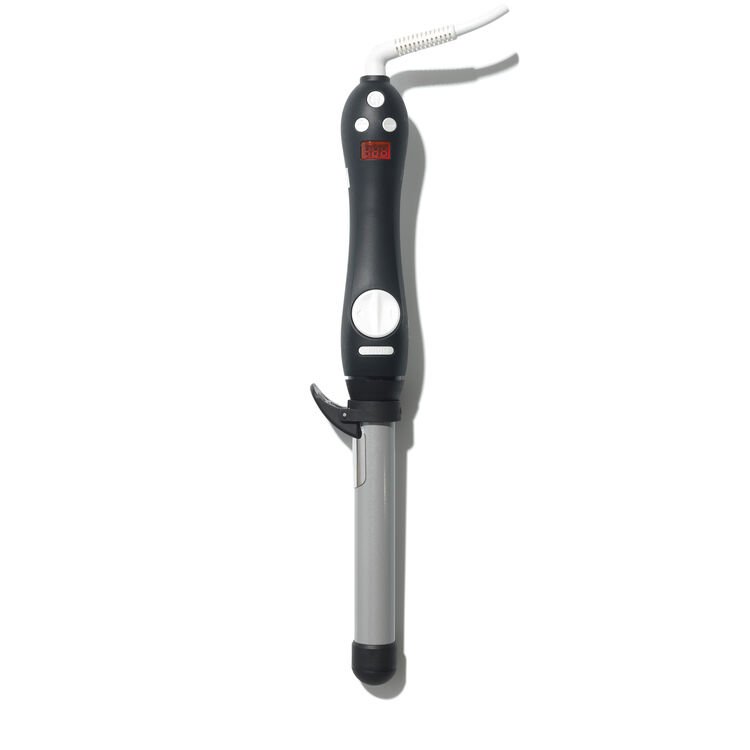
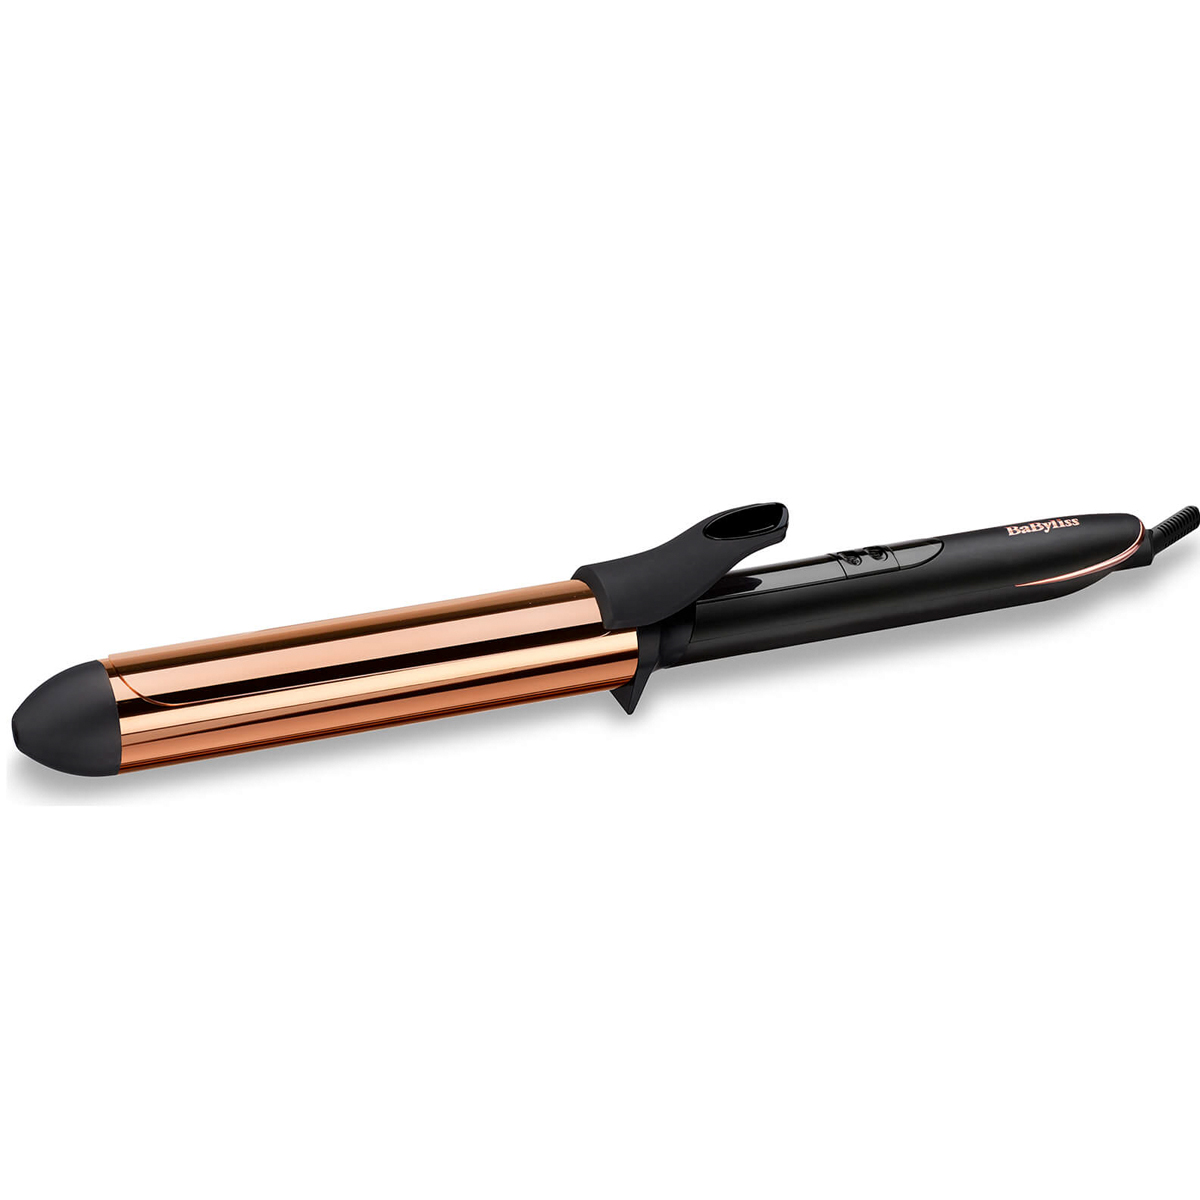
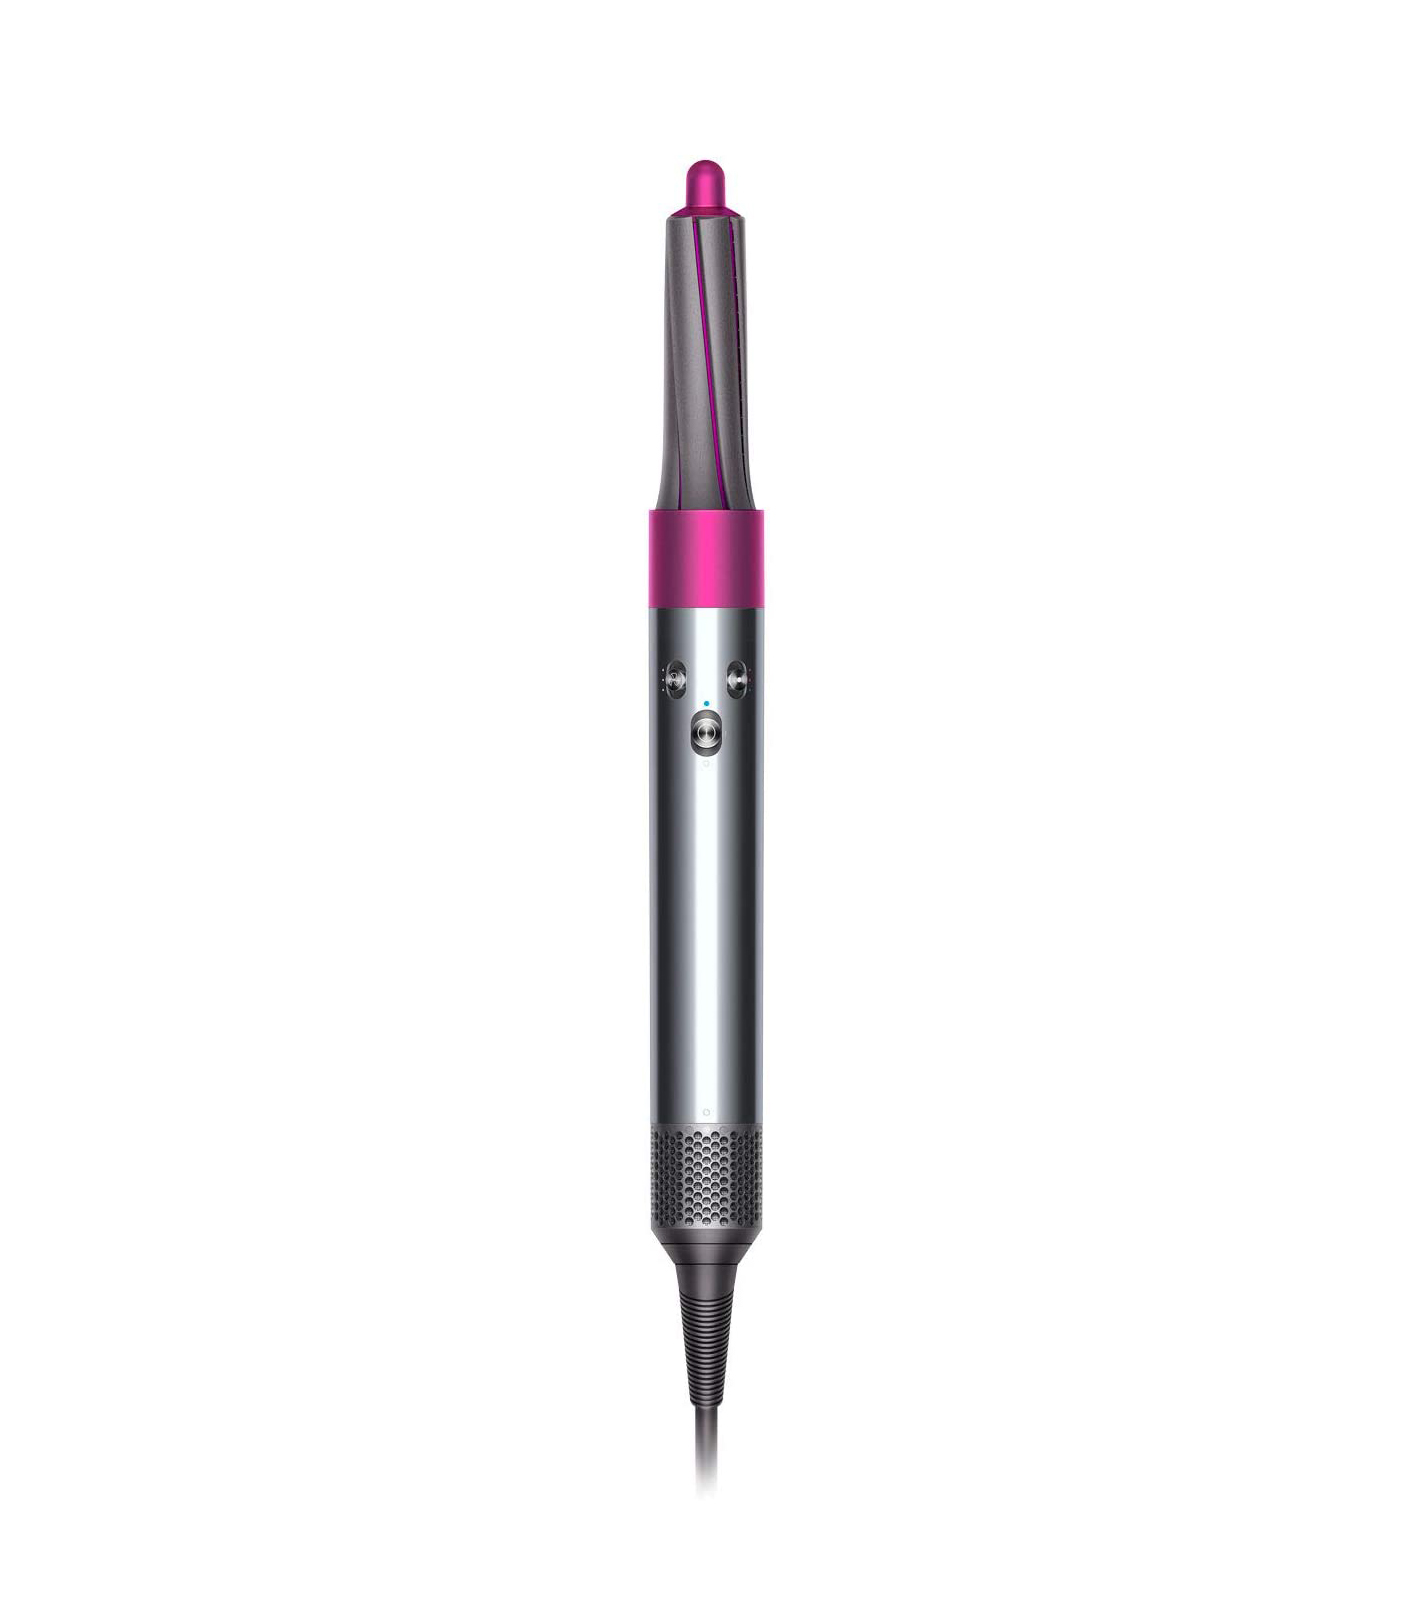
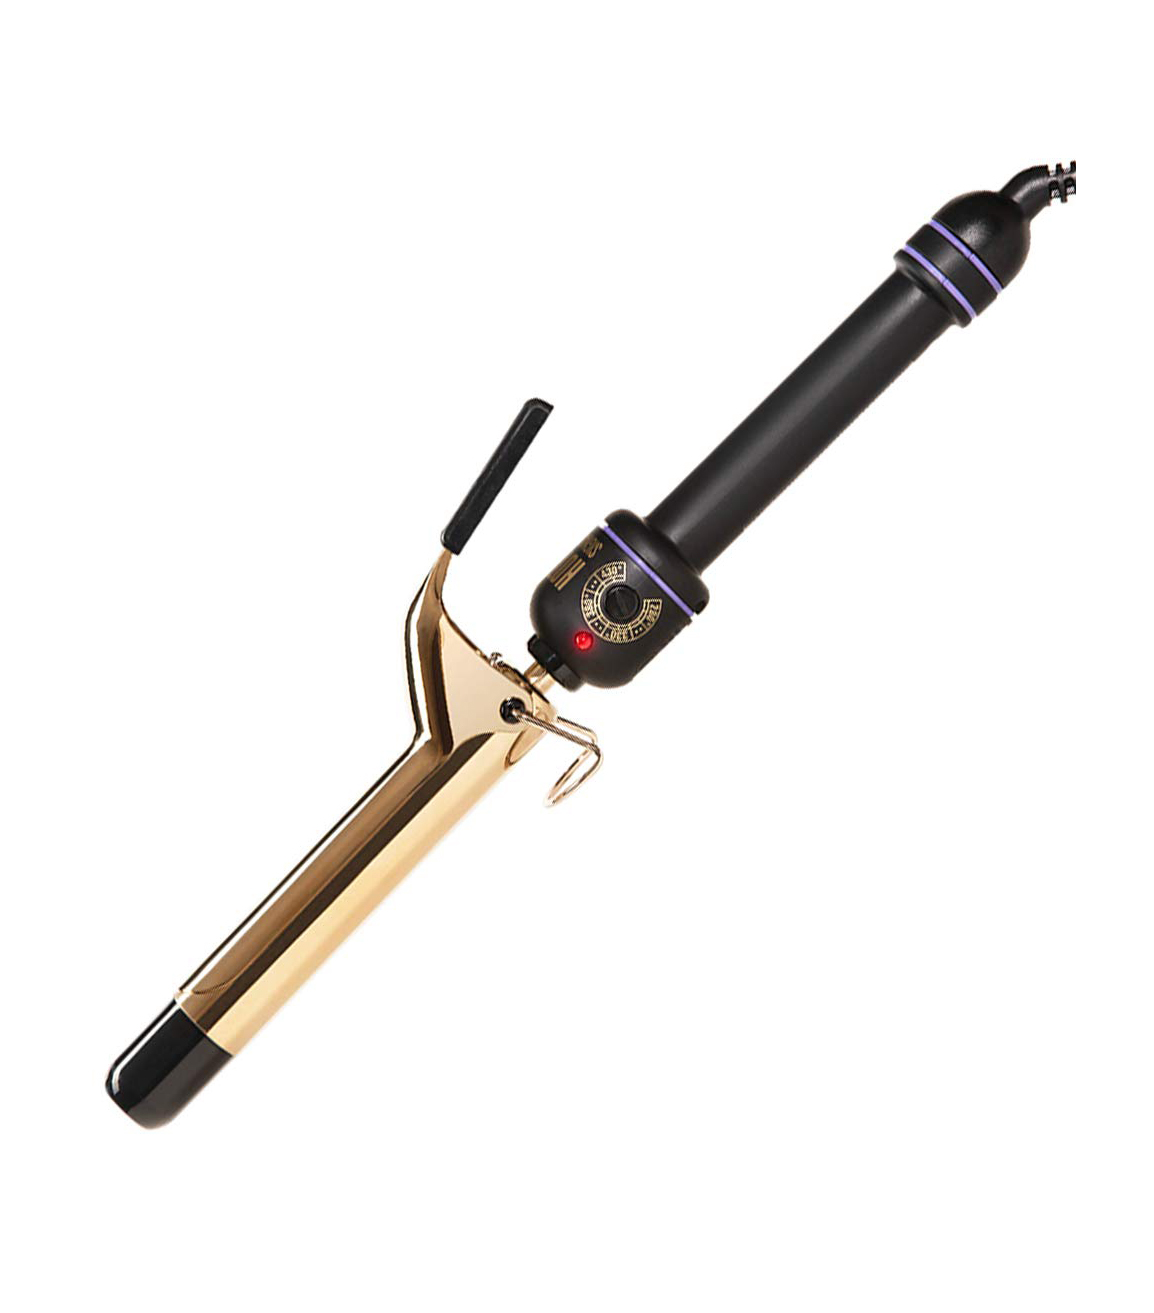
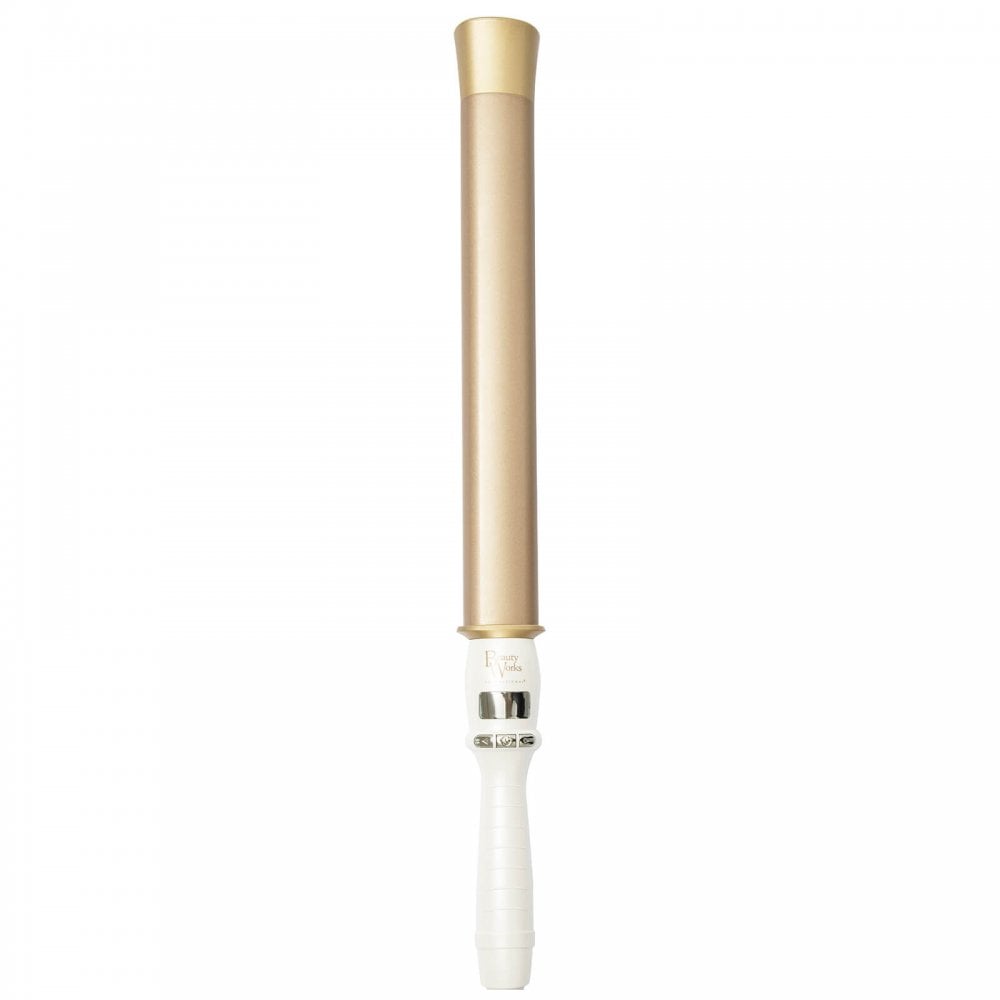
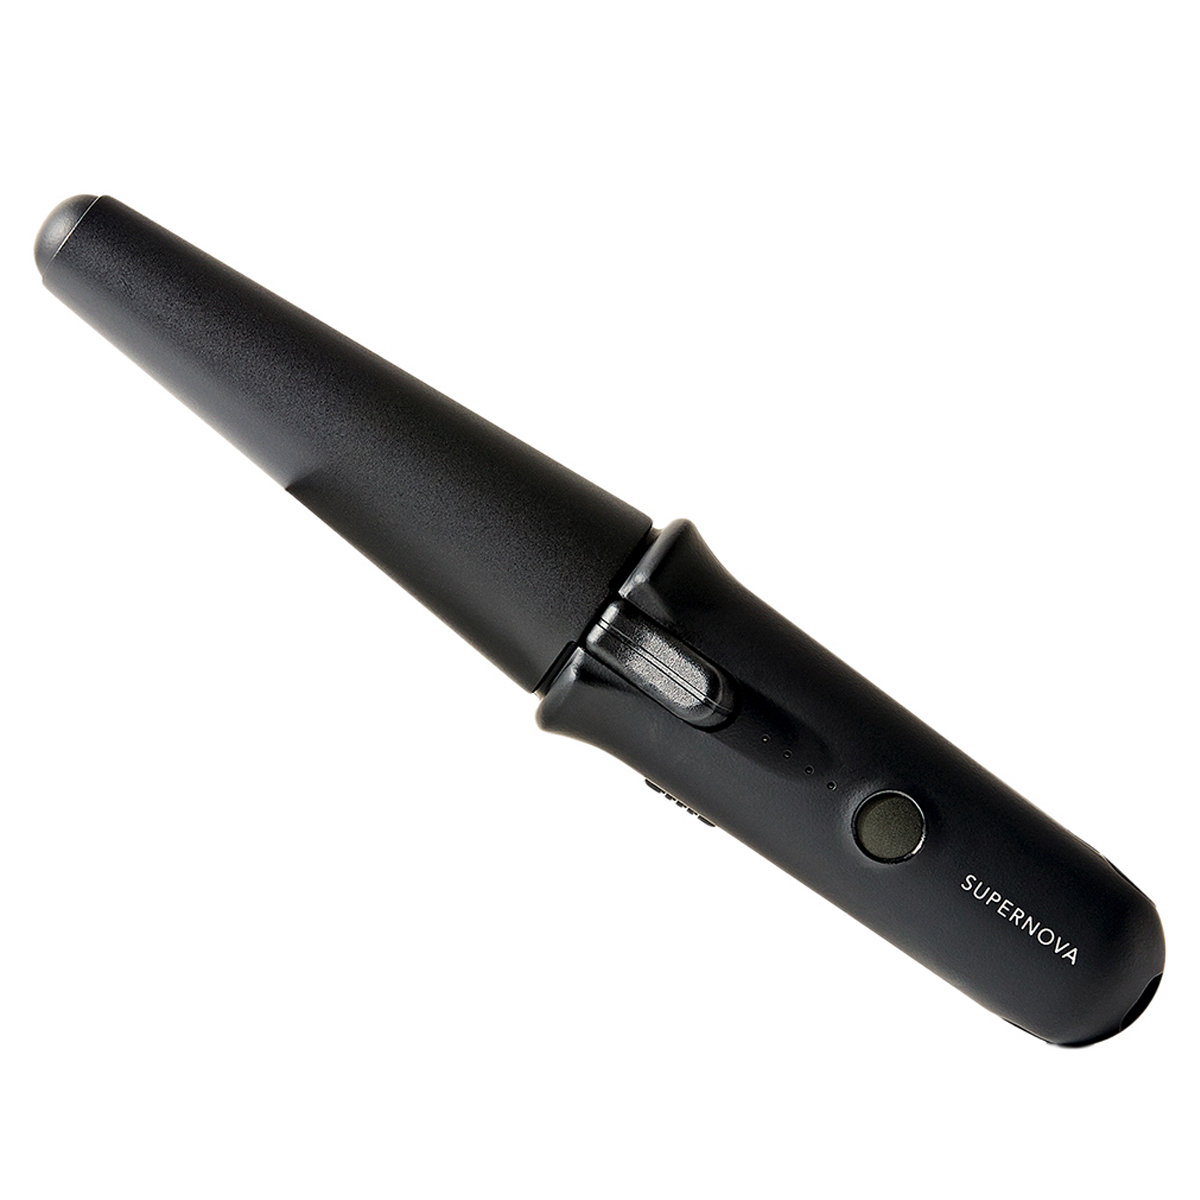
Now that we’re all more in the know about how to curl hair, you might need a new tong or wand to test it all out. Here are some of our picks.

Up next: I think I’ve found the perfect shampoo for every single hair type.
Author Sarah Yang | Whowhatwear
Selected by CWC
ADVERTISEMENT
ADVERTISEMENTUp to 30% off Gift Sets |


