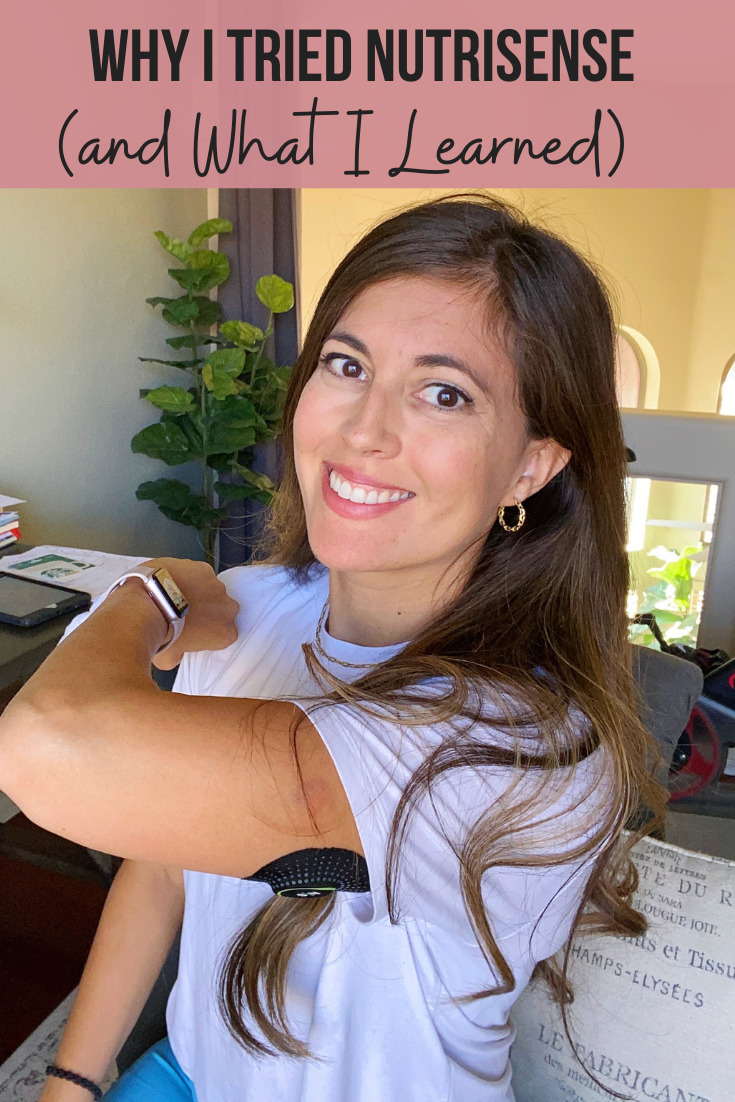
Why I tried Nutrisense (and What I Learned)
October 27, 2021 at 11:52AM
For the past week and a half, I tried out Nutrisense and wore a CGM to monitor my glucoses levels. Sharing a recap of my experience here! I was gifted the Nutrisense membership for 1 month to try, and this post is not sponsored. My code to try it out is GINA50 for $50 off <— not affiliate, just wanted to share a discount with you all.
ADVERTISEMENT |
Hi friends! How’s the week going? Thank you so much for all of the beautiful birthday wishes for P! We had a great day celebrating and capped it off with the requested hibachi dinner. I hope you’re having a wonderful week, too!
ADVERTISEMENT
ADVERTISEMENTKate Spade Autumn/Winter Sale |
For today’s post, I wanted to share a recap of my experience using Nutrisense. I’ve been curious about this company for a while, especially after doing my Inside Tracker bloodwork earlier this year. My fasting glucose levels were a little on the high side, and I was concerned that it may be a deeper problem. I waited it out, and after my good friend Mia posted about using Nutrisense to monitor her blood glucose levels, I knew I wanted to give it a try. I reached out to the company and was excited when they offered me a month to try it out and see how I liked it.
I received the product and was SO nervous to put it on (hi, I’m a giant needle phobe) and waited and waited until Mia said that she’d walk me through the whole process and attach hers at the same time. You can watch the video here and witness the moment I almost started having a panic attack on live video. (She was like, “See, you can see the needle right there” and I turned white.) I really wanted the data, so I took a deep breath and went for it. I’m really glad I did, because having the ability to see my body’s response to different foods was extremely valuable.
ADVERTISEMENT
ADVERTISEMENTSports Direct Free Delivery on All Orders! |
(I’m smiling but panicking. Turns out, attaching the CGM was NOTHING like I imagined it would be. It was painless and super easy.)
ADVERTISEMENT |

Why I tried Nutrisense (and What I Learned)
What is Nutrisense and how does it work?
Nutrisense is a program that offers expert guidance in alignment with a Continuous Glucose Monitor (CGM). The CGM tracks your blood glucose at 15-minute intervals throughout the day, so you’re able to see how sleep patterns, diet, exercise, stress, and nutrition impact your blood glucose levels. Continuously elevated glucose can cause inflammation and damage in the body, so it can be helpful to see how your body responds to the factors above, particularly how it recovers. For example, if your blood glucose spikes after a carb-heavy or sugary meal, does it stay elevated? Or does it recover within 2 hours? How high is the spike??
ADVERTISEMENT

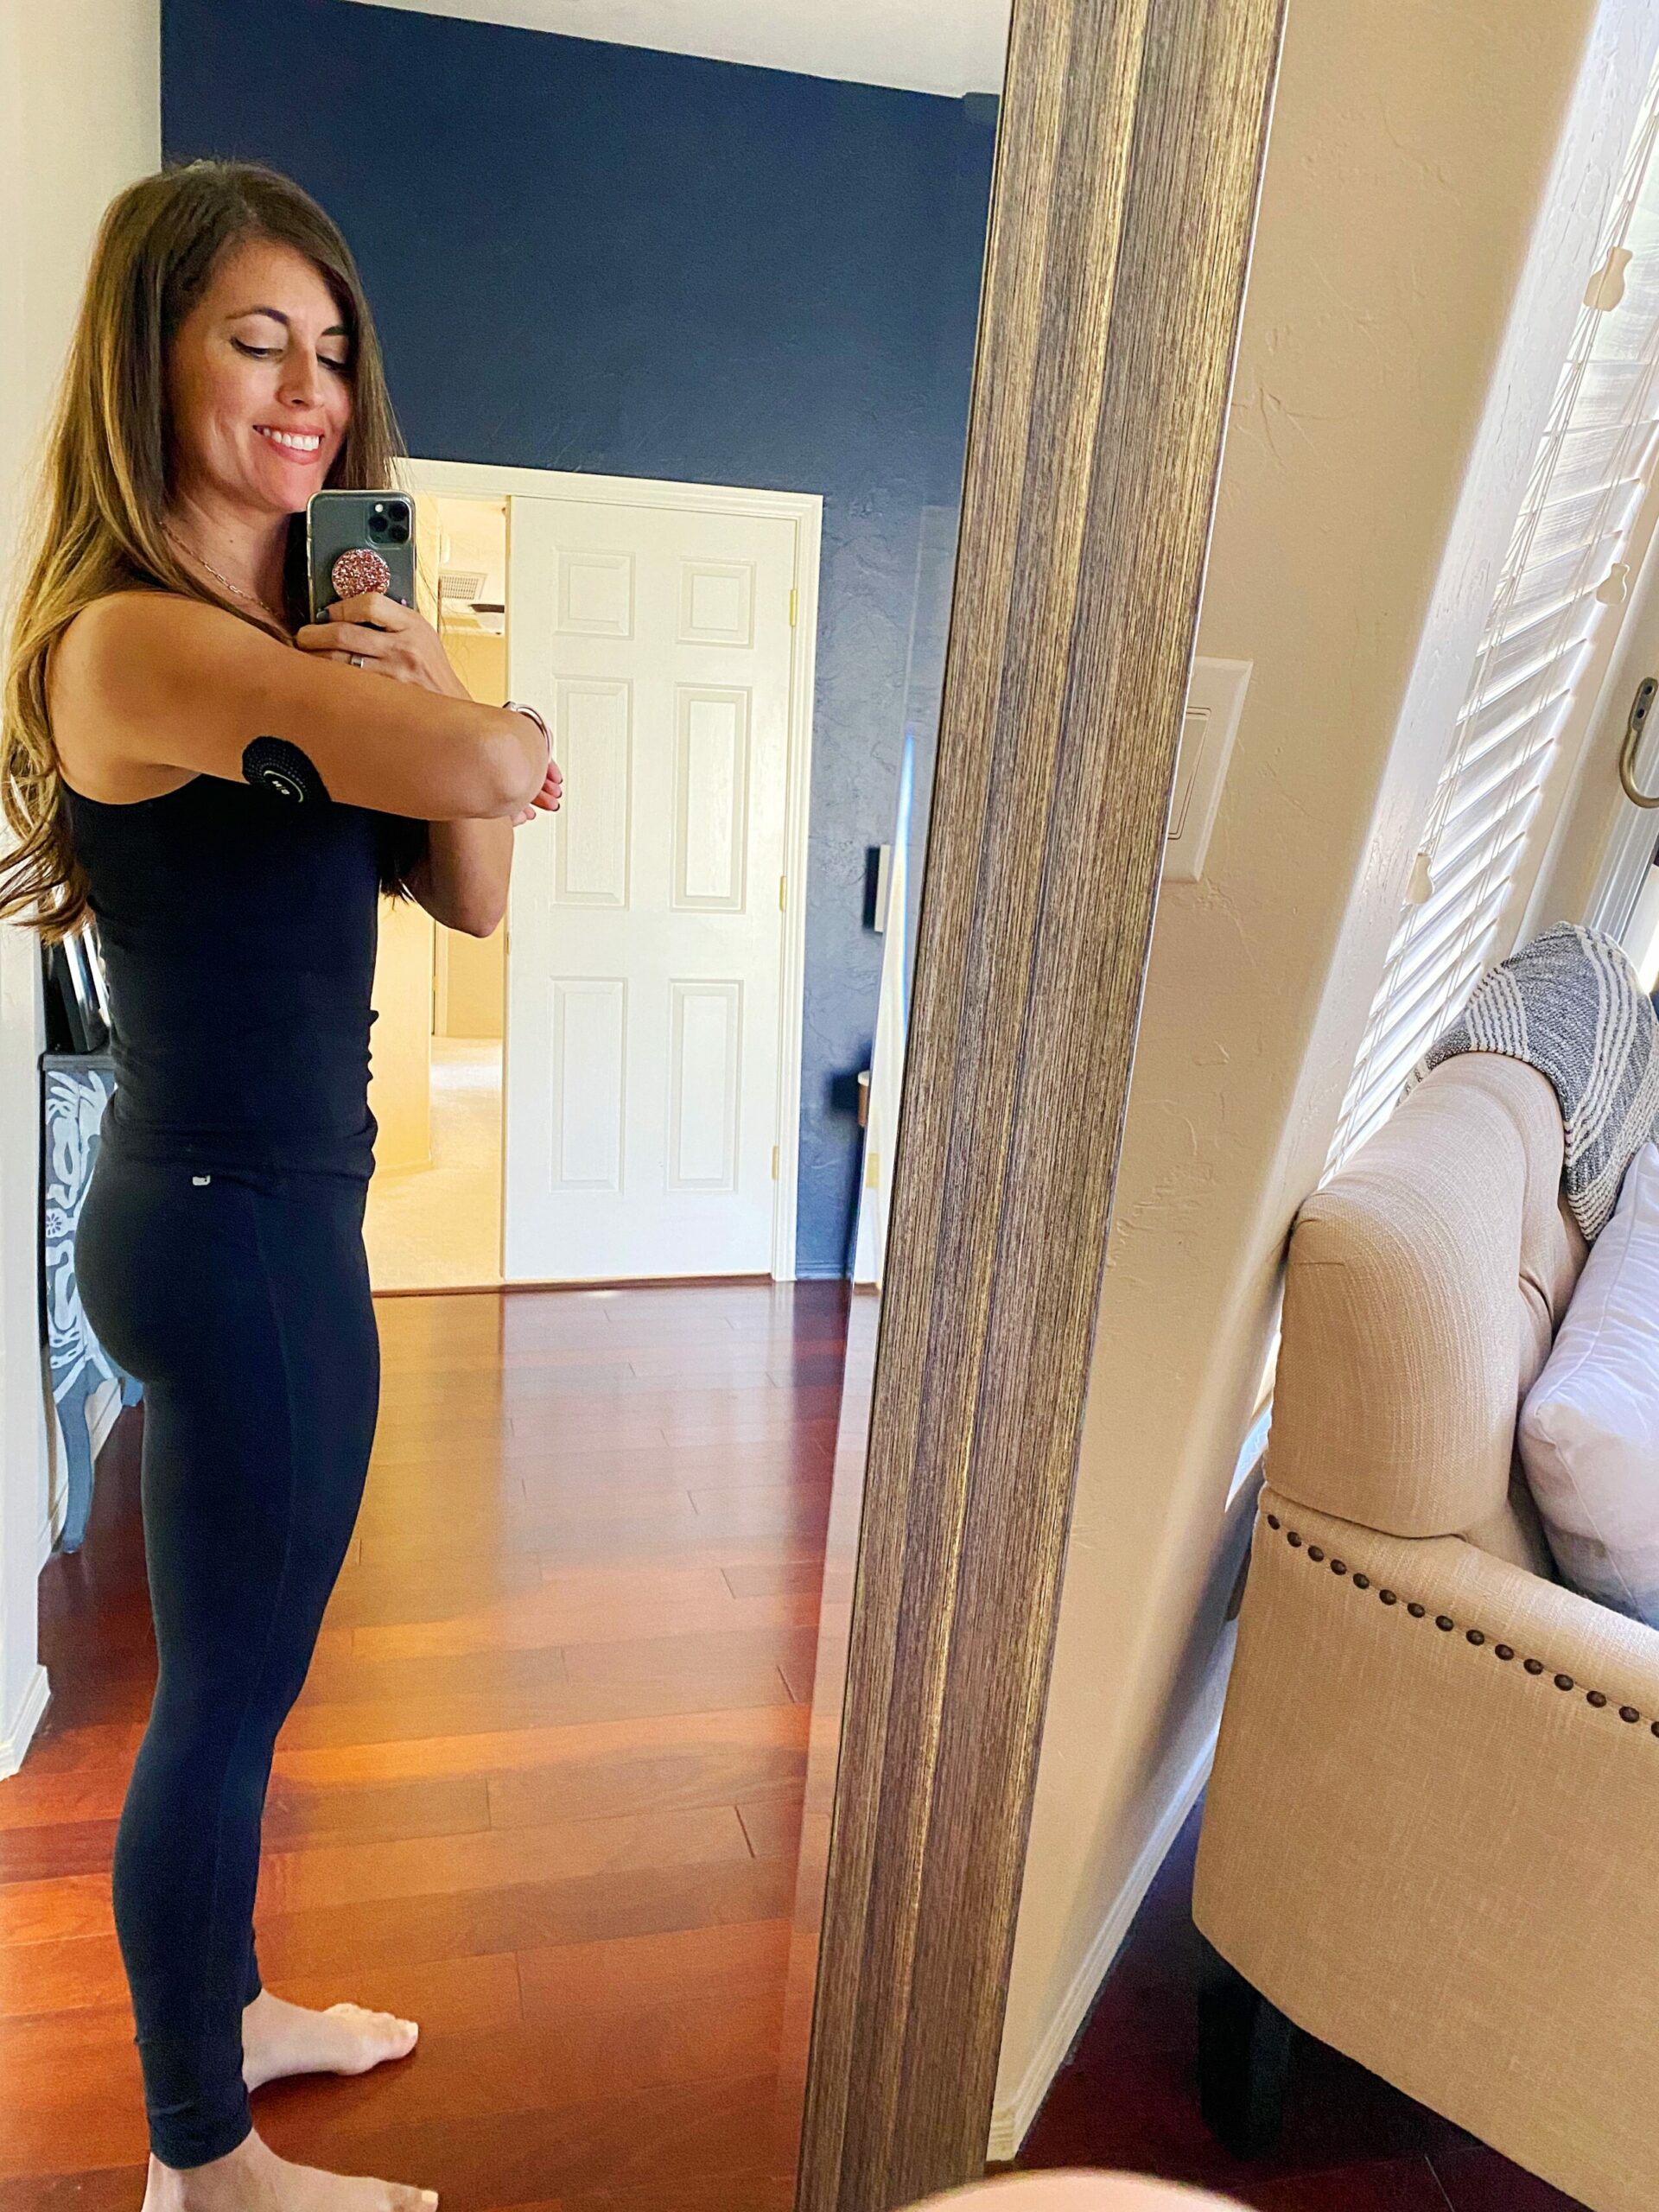
When you sign up for Nutrisense, your CGM is delivered to you, along with details on how to attach it. (You can watch me do this here!) You’ll attach the CGM and protective patch, download the app, and scan your CGM to start tracking the data. It usually takes about an hour after adding it for your phone to recognize it and start scanning. (You just click “scan” on the app and hold your phone up the the CGM where the camera is located.)
Within the app, you’re initially paired with a Registered Dietitian who can help you interpret the data, make recommendations, and run experiments.
The service starts at $350 for month, and the cost goes down depending on the time commitment. (With a 12-month commitment, it’s $199/month.)
The CGM that Nutrisense uses is the Freestyle Libre and they expire in 14 days. (You app will let you know when your sensor is expiring.)
ADVERTISEMENT

ADVERTISEMENT
Anya Hindmarch - I AM A PLASTIC BAGWhat type of data do you receive and how do you interpret the data?
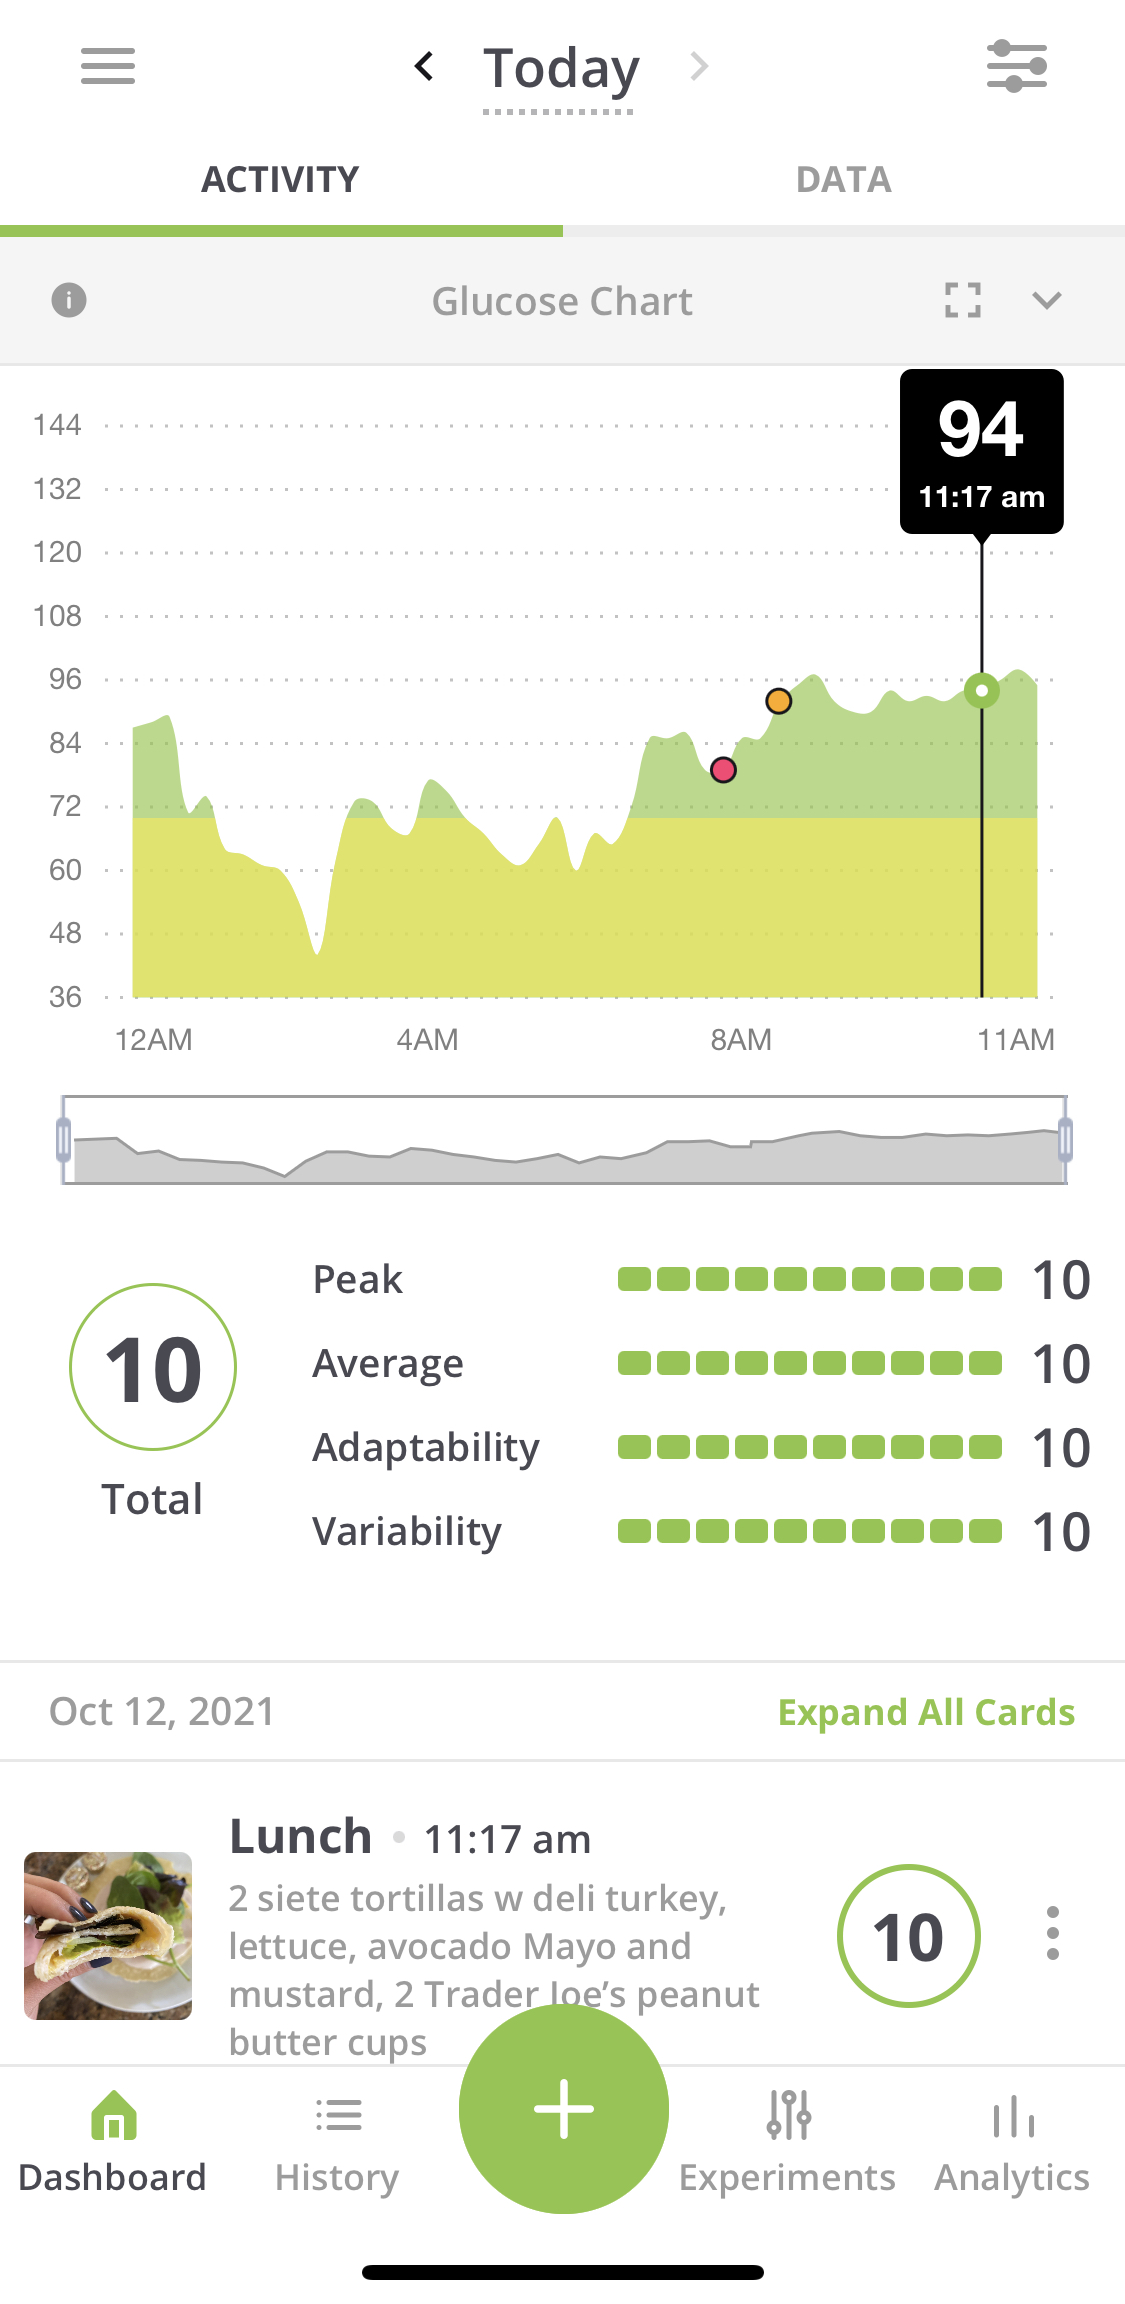
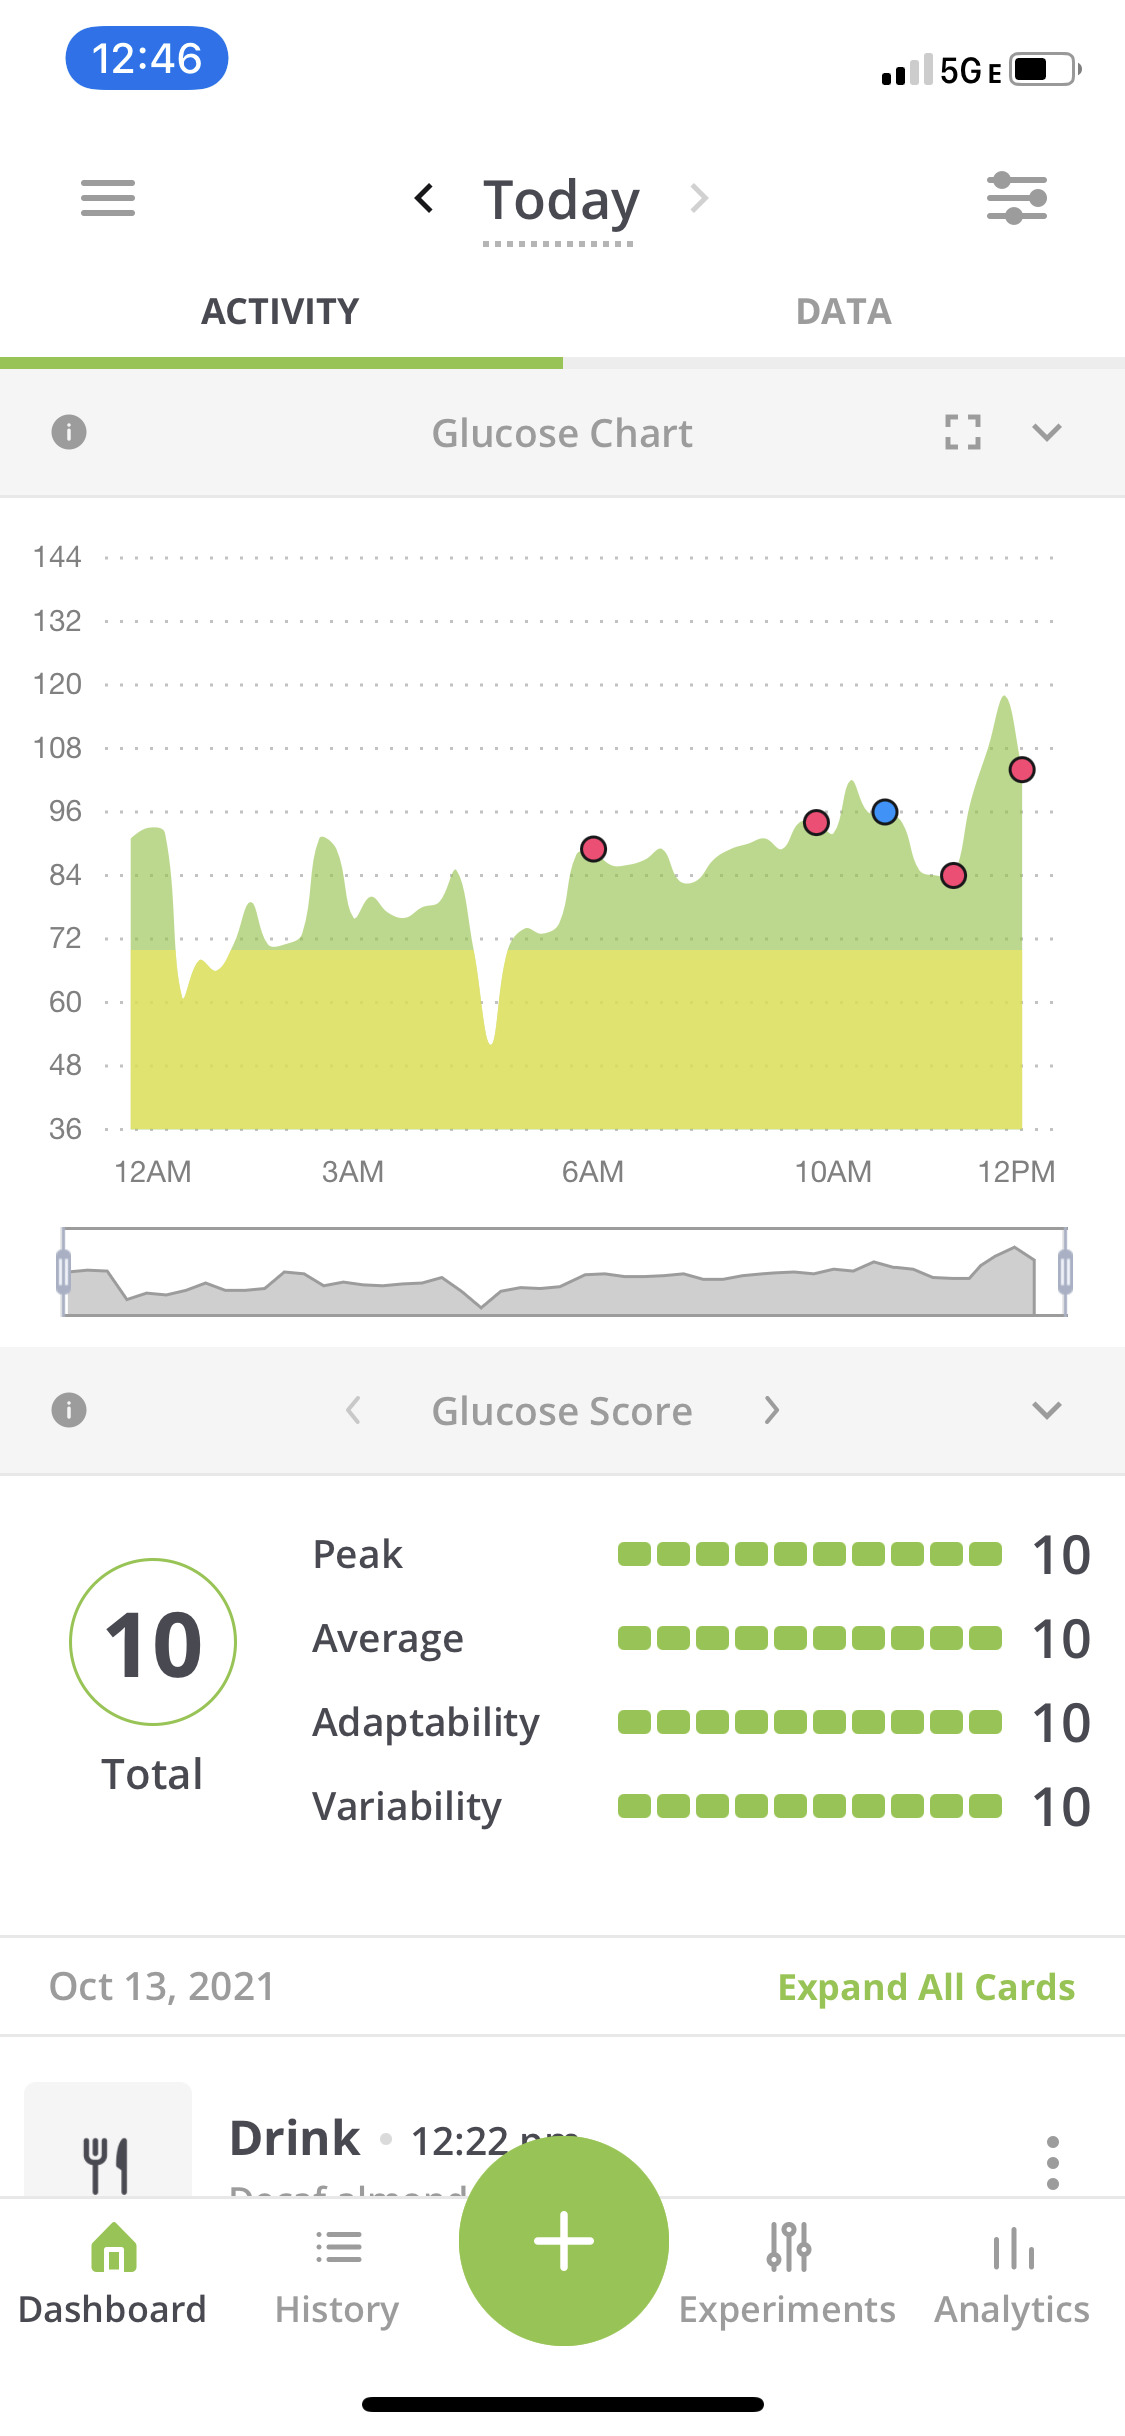
Your blood glucose is charted 24/7 and you can see how high gets and how long it takes to stabilize. It can be interesting to see spikes throughout the night how different patterns affect your blood glucose.
I got this from my RD, who messaged me frequently and was always available to answer questions: (this was after a smoothie that caused a higher spike than I expected)
To help provide more context, I want to walk you through what I’m looking at as I assess a glucose response so let’s check out your breakfast on 10/11 as an example (chocolate, smoothie, almond milk):
Peak (^ on your meal card). First, we want to look at the peak glucose value and aim to avoid repeated exposure above 140. Your peak glucose value was 114, which is well below the threshold and a normal peak!
Exposure (squiggly line on meal card). Second, we also want a small area under the curve (AUC). So a quick glucose spike to 150 but a return to pre-meal glucose values within 1 hour of eating is a small area under the curve, but a slow glucose climb to 130 and staying elevated for 4 hours would be a much larger area under the curve. We want glucose to return to pre-meal values within 2-3 hours after eating. You can help monitor your AUC by assessing your meal card AUC values and by checking your standard deviation in the analytics. Your AUC was 42.9- I would say optimally I’m looking for <30, but <50 is still okay!
Stability (triangle on meal card). We also want to avoid major “shifts” in glucose. So it may be possible that after a meal you only went to 130 (which is good!), but your pre-meal value was 70, so that would be quite a big swing. You can monitor this by assessing your delta values, as we always want to strive for a delta <30. Your delta was 33, which is great!!
Recovery (2h score on meal card). Finally, we want glucose to return to pre-meal values within 2-3 hours after eating. Your response was 23, which tells me you were 23 points from baseline value at the 2 hour mark.
What I learned using a Nutrisense CGM:
– Some buffers to prevent a blood sugar spike, especially when you’re having higher-carb meals: take a walk before or after your meal, have some type of protein first, moderate carb intake, and meal timing. Since your insulin sensitivity is better during the day and wanes towards the evening, you may tolerate foods better if consumed in the afternoon instead of late at night. This is absolutely the case for wine with me – if I have it late-afternoon, it doesn’t affect my sleep.
– Whole foods-based carbs do not have a significant effect on me, especially when they’re paired with protein. (Berries, apples, bananas, and oranges didn’t cause a spike, even when I ate them by themselves.) Oatmeal, paleo pancakes, Siete tortillas, and starchy veggies were the same. Refined carbs, on the other hand, did cause a spike. We went to a party at a friend’s house and I had more sweets and refined carbs than usual (plus champagne) and my blood glucose was elevated all night and the following day. It was interesting to see how one meal can affect your insulin sensitivity for the following day.
– Wine spikes my blood sugar, tequila does not. (An important lesson haha.) Both recover fine if I have one glass, but two glasses led to increased levels the following day. This experiment verified the fact that I don’t do well with a ton of alcohol, and it’s been a good reminder to minimize it. (Right now I’m at one or maybe two drinks per week.)
– Also, my body loves tacos, beans, and rice. 🙂 I had my usual Wednesday night Mexican meal with the family and no huge spike.
– Peace of mind. A large percentage of our population is not metabolically flexible, which can impact how we handle stress, injuries, and recover from illness. I was concerned that my last blood test showed a higher fasting glucose, but this was able to verify that it isn’t the case for me normally (my blood test was an outlier) and a good indicator of my metabolic health. That was my main concern going into this and it was a welcomed sigh of relief.
Pros:
– The RD support was invaluable. I loved having the ability to ask questions, and she did an excellent job about teaching me how to see my patterns, assess my response, and ideal target ranges.
– The app is very well-designed, easy to navigate and use. I liked using the app and found that even as a newbie, I figured it out fairly easily.
Cons:
– I ate a little strangely when I first put it on. It’s like I was afraid to eat anything that would spike it, and eventually I had to tell myself to get over it and eat normally after a couple of days. The data wasn’t going to help me if I only ate protein and vegetables for 14 days. So I had margaritas, tacos, desserts, all of the things I normally eat, so it would provide a true picture. If you have a history with disordered eating, I wouldn’t recommend using this.
– It was uncomfortable and I ended up taking it off a few days early. (I think it was more the adhesive than the actual sensor.) I recognize the privilege I have to be able to say, “I don’t want to wear this anymore” and remove it, when I have friends out there who depend upon a CGM for survival. Just wanted to put a little note here that I see you. <3 I didn’t sleep well at all for the 11 days I had it attached – it was super light sleep because I was subconsciously worried about rolling onto it and sleeping on it during the night. Also, I was a little shocked by the catheter when the Pilot removed it for me – it’s a teeny plastic tube, but it was longer than I expected lol.
All in all, it was a really valuable experience and I enjoyed having access to all of the data + learning from my Nutrisense RD.
Am I going to attach the second sensor? I think I’ll definitely do it eventually but am taking a break for a couple of weeks. I want to run some more experiments with meal timing and eating certain foods by themselves + in conjunction with other foods.
Any questions about Nutrisense? Is this something you think you would do? If you decide to try it out, you can use the code GINA50 for $50 off 🙂
xo
Gina
The post Why I tried Nutrisense (and What I Learned) appeared first on The Fitnessista.
Continue Reading…
Author Fitnessista | citywomen.co
Selected by CWC
ADVERTISEMENT
ADVERTISEMENTUp to 30% off Gift Sets |