March 16, 2020 at 07:00PM by CWC
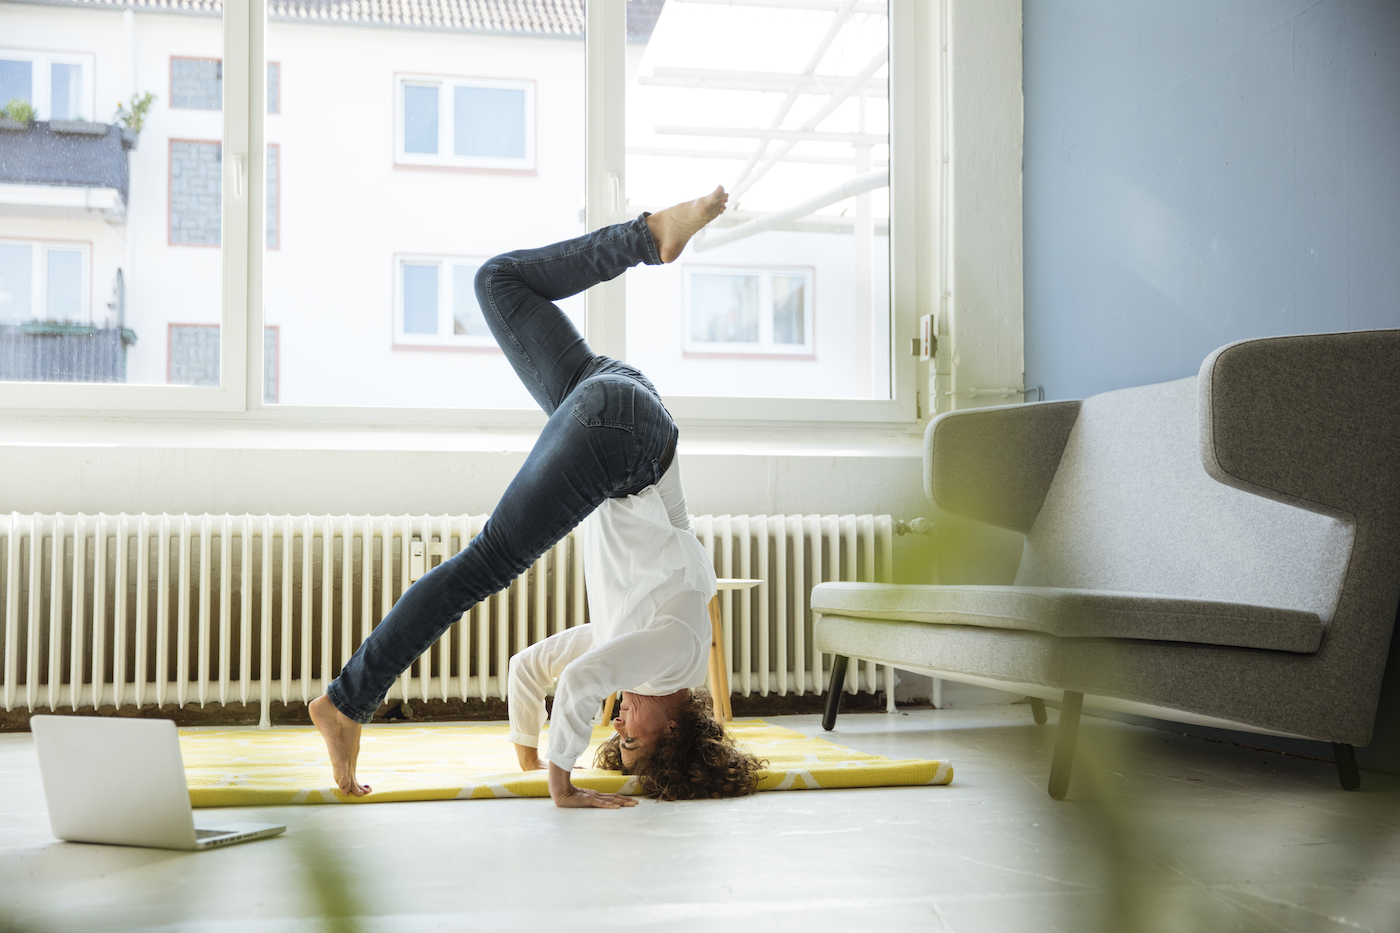
You may be able to twist your way into a bird of paradise with the best of them, but mastering the yoga headstand is a whole different ballgame. Unlike many moves in the practice, which solely rely on flexibility, balancing on your head requires some serious strength. And if you’ve ever attempted it for yourself without any prep—and wound up toppling over onto the person on the mat next to you—you know that holding a headstand isn’t quite as simple as just deciding to do it and kicking up into the pose.
There are a few key muscles responsible for getting you—and keeping you—in the position. “The trapezius and deltoid muscles in your shoulders protect the head and neck, and the latissimus dorsi, which is in the back of your core holds you up,” says Kajuan Douglas, founder of Merge New York, a yoga studio in New York City. “Core muscles like the obliques, rectus abdominis, and transverse abdominis get you up and help you balance, and the biceps and triceps have to be strong to provide a supportive base.”
How to get strong enough to do a headstand
In order to get started in a headstand practice, then, the first step is strengthening these muscles. To help you do that, yoga pro Jess Penesso, founder of The Sweat Method, suggests cycling through the below movements that will work your core and hip flexors while also stabilizing your shoulders.
ADVERTISEMENT
ADVERTISEMENTKate Spade Autumn/Winter Sale |
1. Medicine ball plank-to-pike: Start in a plank position with your ankles and feet on top of stability ball and your hands planted underneath your shoulders on the ground. Slowly begin to pull your legs toward you into a pike position, bringing your hips up and forward until they’re over your shoulders.
2. Forearm planks: With your forearms on the ground directly underneath your shoulders, interlace your fingers in front of you (the same way you would to create a basket to support your head in a headstand) and press back through your heels. Pull your core and squeeze your glutes, engaging the muscles to keep your body in a straight, solid line. Hold for a minute and repeat.
3. Dolphin pose: Once you’ve built strength in your forearm plank, you can up the ante with a dolphin pose. From the same engaged plank position, slowly walk your feet as far toward your face as possible, which will help you get more comfortable being inverted.
4. Weighted leg lifts: Using one pound ankle weights (Penesso is a fan of Bala Bangles, $49), lie on your back with your head on the mat and legs stretched out long. Slowly lift your legs up to the ceiling, over your hips, then slowly lower them back down to the ground. Lift back up and continue to repeat slowly.
5. Hollow hold boat pose: Start in a boat pose, with your butt on the mat and your upper and lower body lifted to create a “V” shape. Lower down into a hollow hold, pressing your lower back into the mat and lengthening your legs out in front of you so that your shoulders and legs hover slightly off of the ground. Lift back up to boat, and slowly repeat.
Building up a yoga headstand progression
Once you’ve strengthened your muscles, you’ll be ready to use them in a yoga headstand progression, which will help you build up to the real thing.
1. Supported headstand on a wall: According to Douglas, the wall is the best place to learn, since it allows you to get stronger while also conquering your fear of being upside down. It will also help you understand proper shoulder alignment, which is key. “About 80 percent of your weight should be in your forearms, with your hands interlaced around your head to create a basket,” says Penesso. Start kneeling and facing the wall, with your forearms parallel on the ground and your fingers interlaced about three to four inches away from the wall. Keep your head looking forward at your hands, then tuck your toes under and kick up against the wall. Keep your head off of the ground, and pull your core in and feet together, pressing away from the floor with your forearms.
2. Tripod headstand: When you’re ready to move away from the wall, a tripod headstand will help you build core strength thanks to its wider base, which Douglas says will support stability. Moving away from the wall, start in the same position—kneeling with your forearms parallel and hands interlaced on the ground to create a basket for your head. Put your head on the ground so that the back of it is pressed up against your hands, then tuck your toes under and straighten your legs to bring your hips up into the air. Pressing hard into your forearms, bring one knee into your chest, then do the same with the other. Hold this position, with your knees in your chest, for 15 seconds. “Practice this daily, three times a day, and you’ll have a headstand in a few months or less,” says Penesso.
3. A full headstand: Once you’ve got the balled-up version of a yoga headstand progression down pat. you can work on straightening your legs. Douglas suggests working with a teacher on an assisted headstand until your comfortable, and then finally (finally!) you’ll be ready for the real deal.
Want to use yoga to strengthen your core even further? Follow along with the video below.
You think headstands are fun? Wait until you hear what happened when one of our editors tried laughing yoga (in India!). And here’s, uh, why yoga sometimes makes you queef.
ADVERTISEMENT
ADVERTISEMENTSports Direct Free Delivery on All Orders! |
Author Zoe Weiner | Well and Good
Selected by CWC

ADVERTISEMENT
ADVERTISEMENTUp to 30% off Gift Sets |


